Pixel Tester Manual
Safe use of the Pixel Tester
- For safety and best performance of the Pixel Tester, please follow the following safety guidelines and refer to the pictures below:
- Do not exceed 10 amps through the Phoenix-style input connector on the right side of the tester.
- Do not exceed 5 amps through the 5.5 millimeter input connector on the left side of the tester.
- You can use either the 5.5 millimeter DC input connector on the left or the two wire Phoenix-style connector on the right, but not both.
- Do not exceed 24 Volts DC with the tester.
- Do not use near water
- Do not allow the output terminals to short or connect to one another
- Do not use this tester dimmable LED tape or modules.
- Always make sure that the voltage of your power supply matches the voltage of your LEDs.
- The Pixel Tester is an industrial product, not a toy. It contains small parts that may be harmful to children if swallowed. Keep this product away from children.

Removable Phoenix-style connectors on the right side. The connector on the left, marked with V+ and V-, is for power input. The connector on the right is for the LEDs.
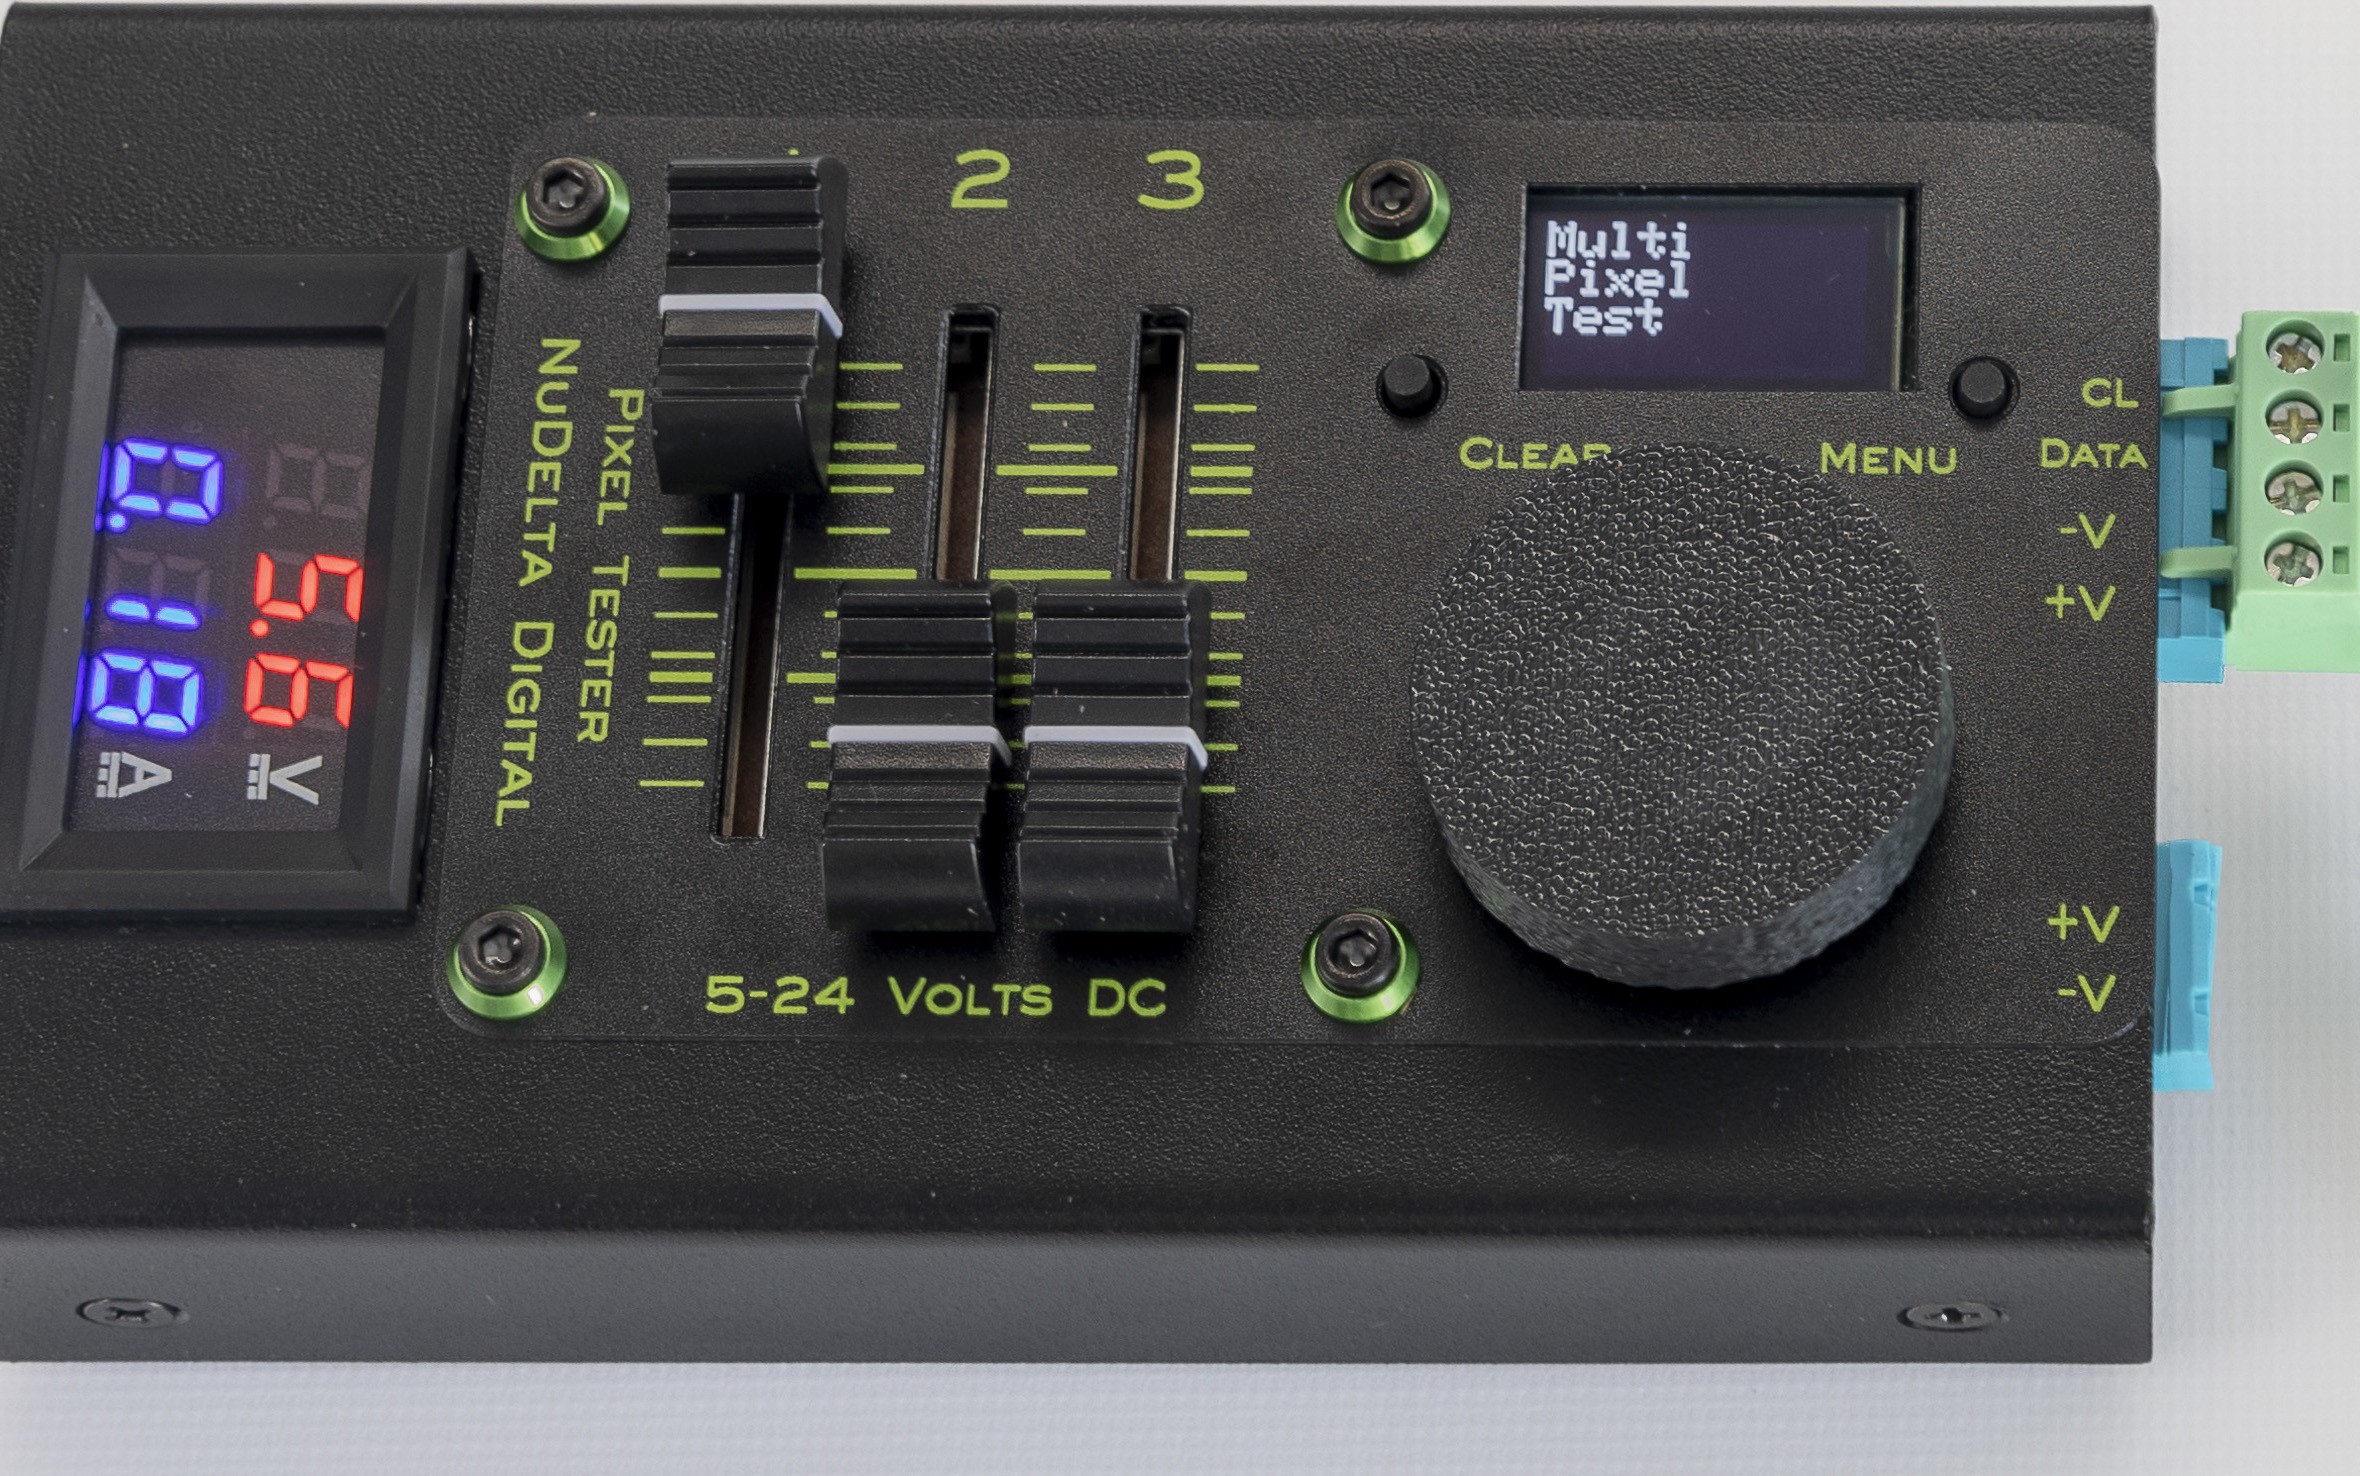
The order of what faders control which color may change depending on the type of LED pixels.
Output Connector
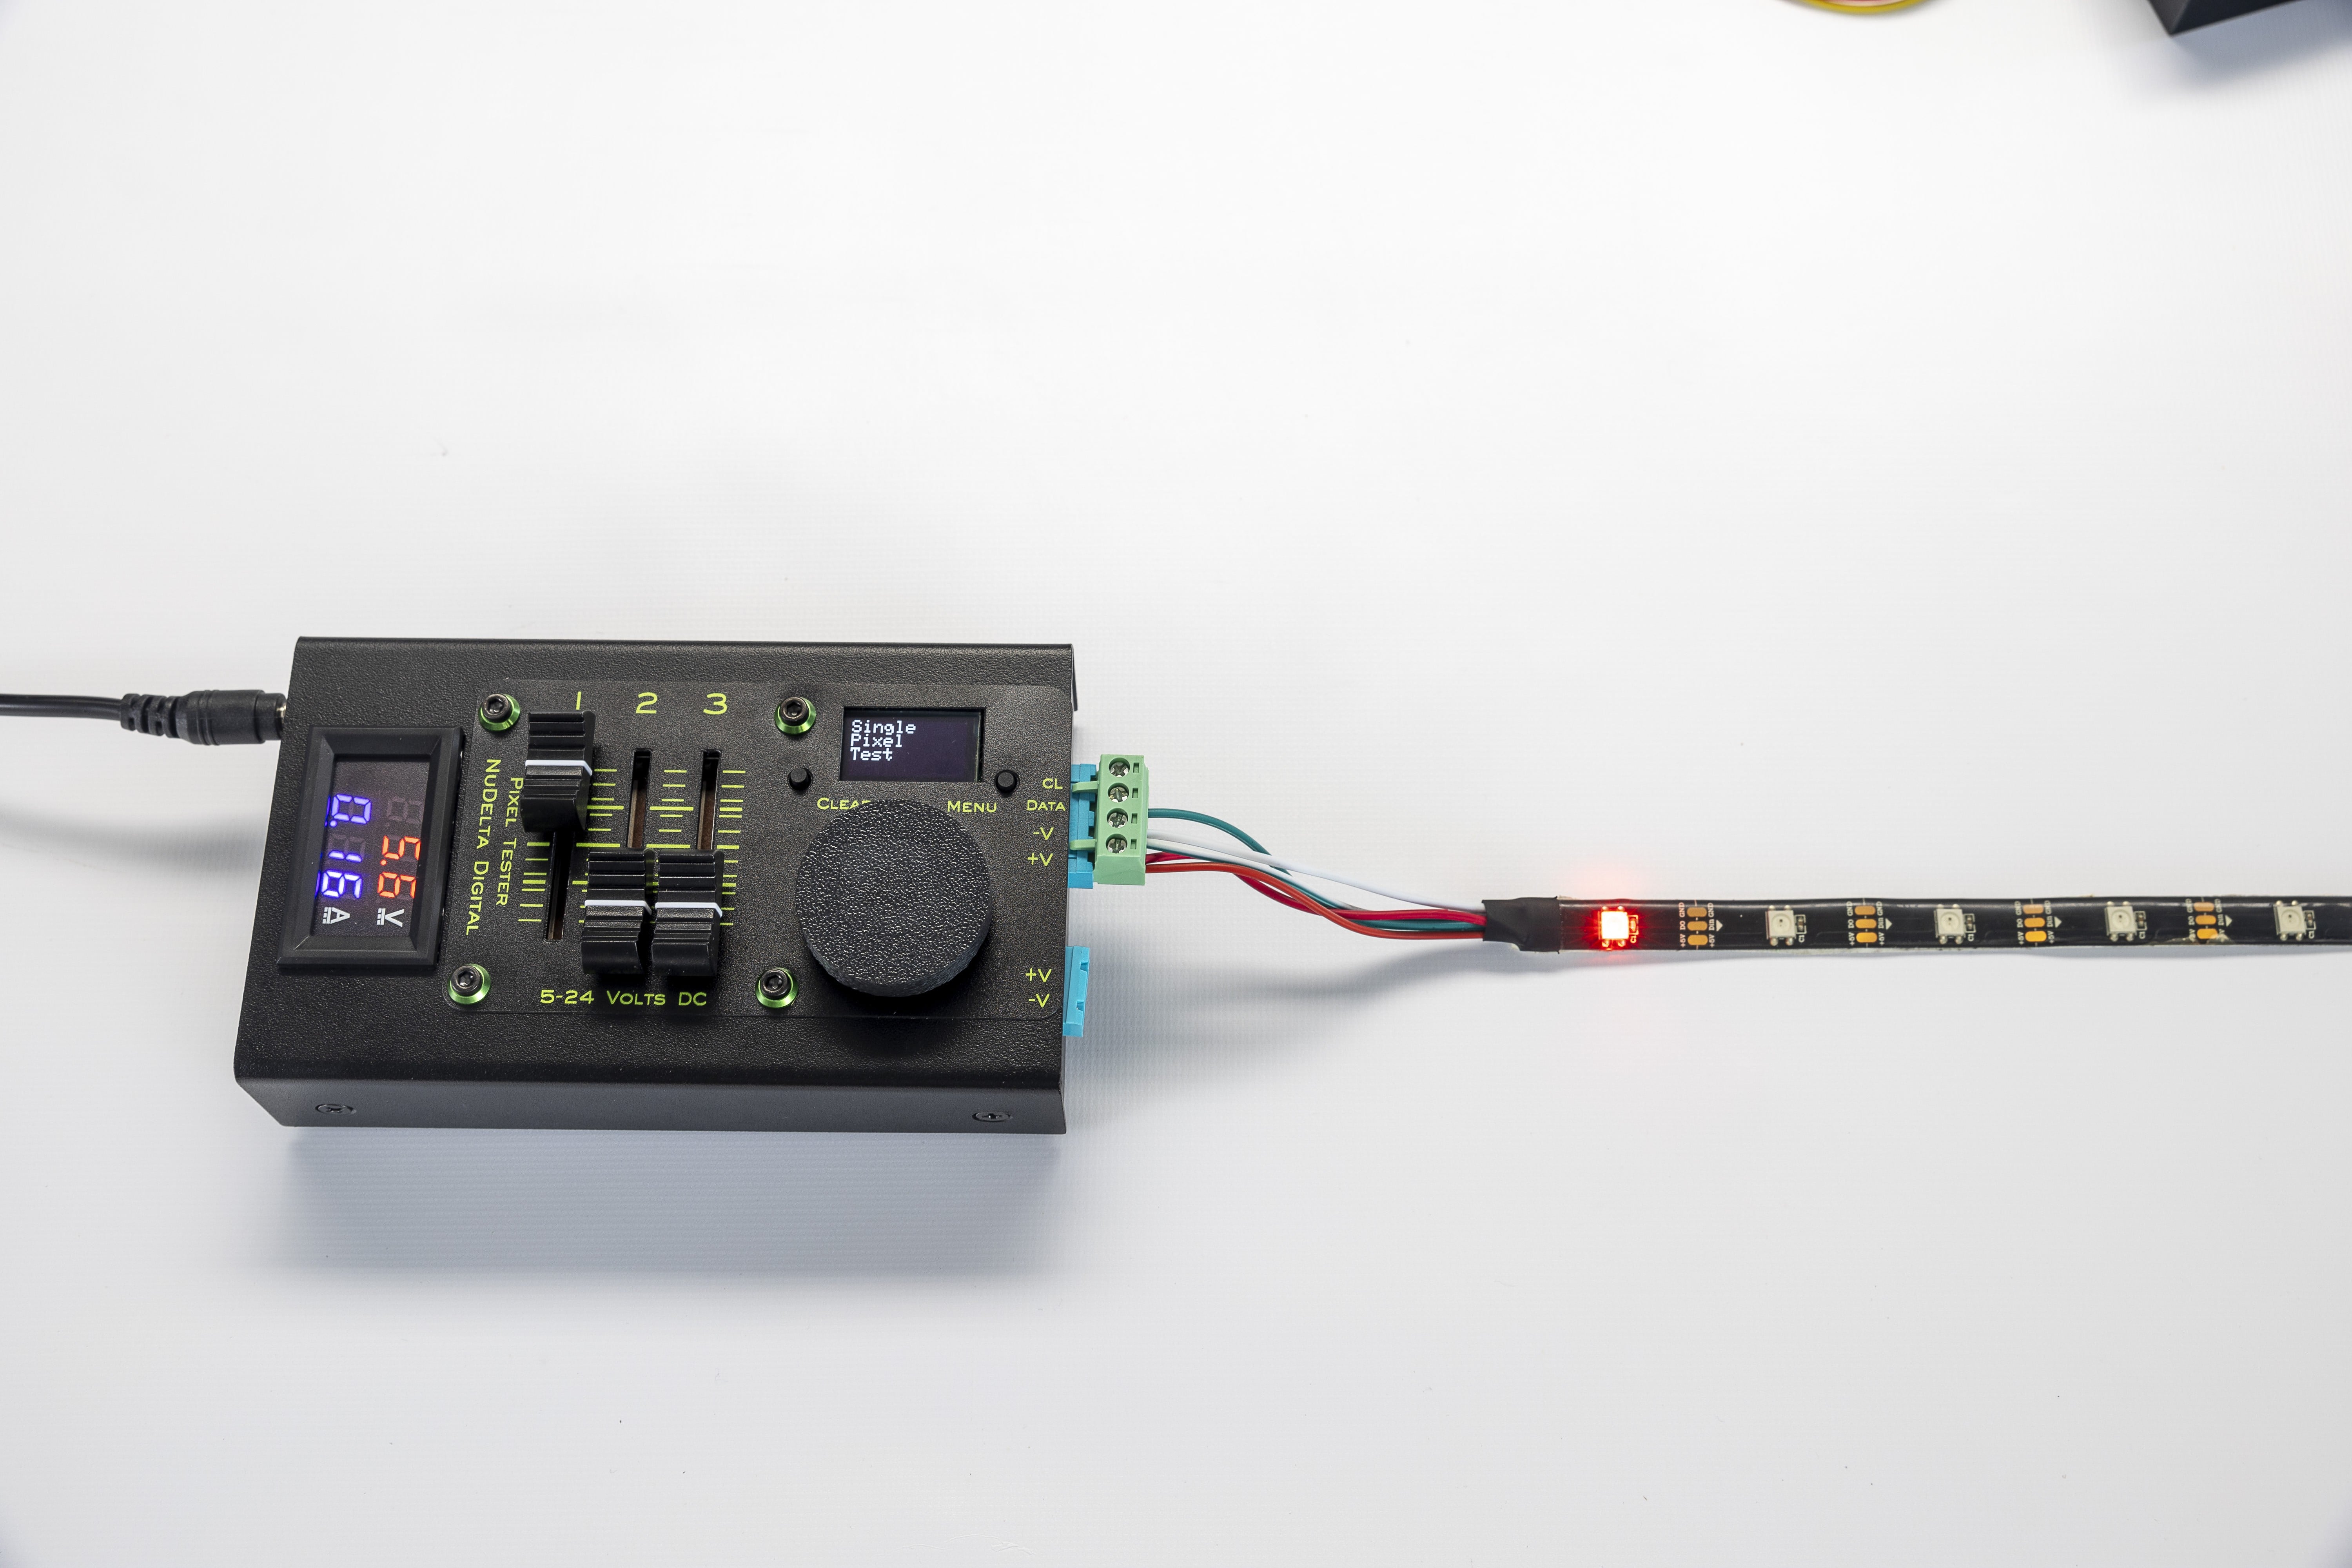
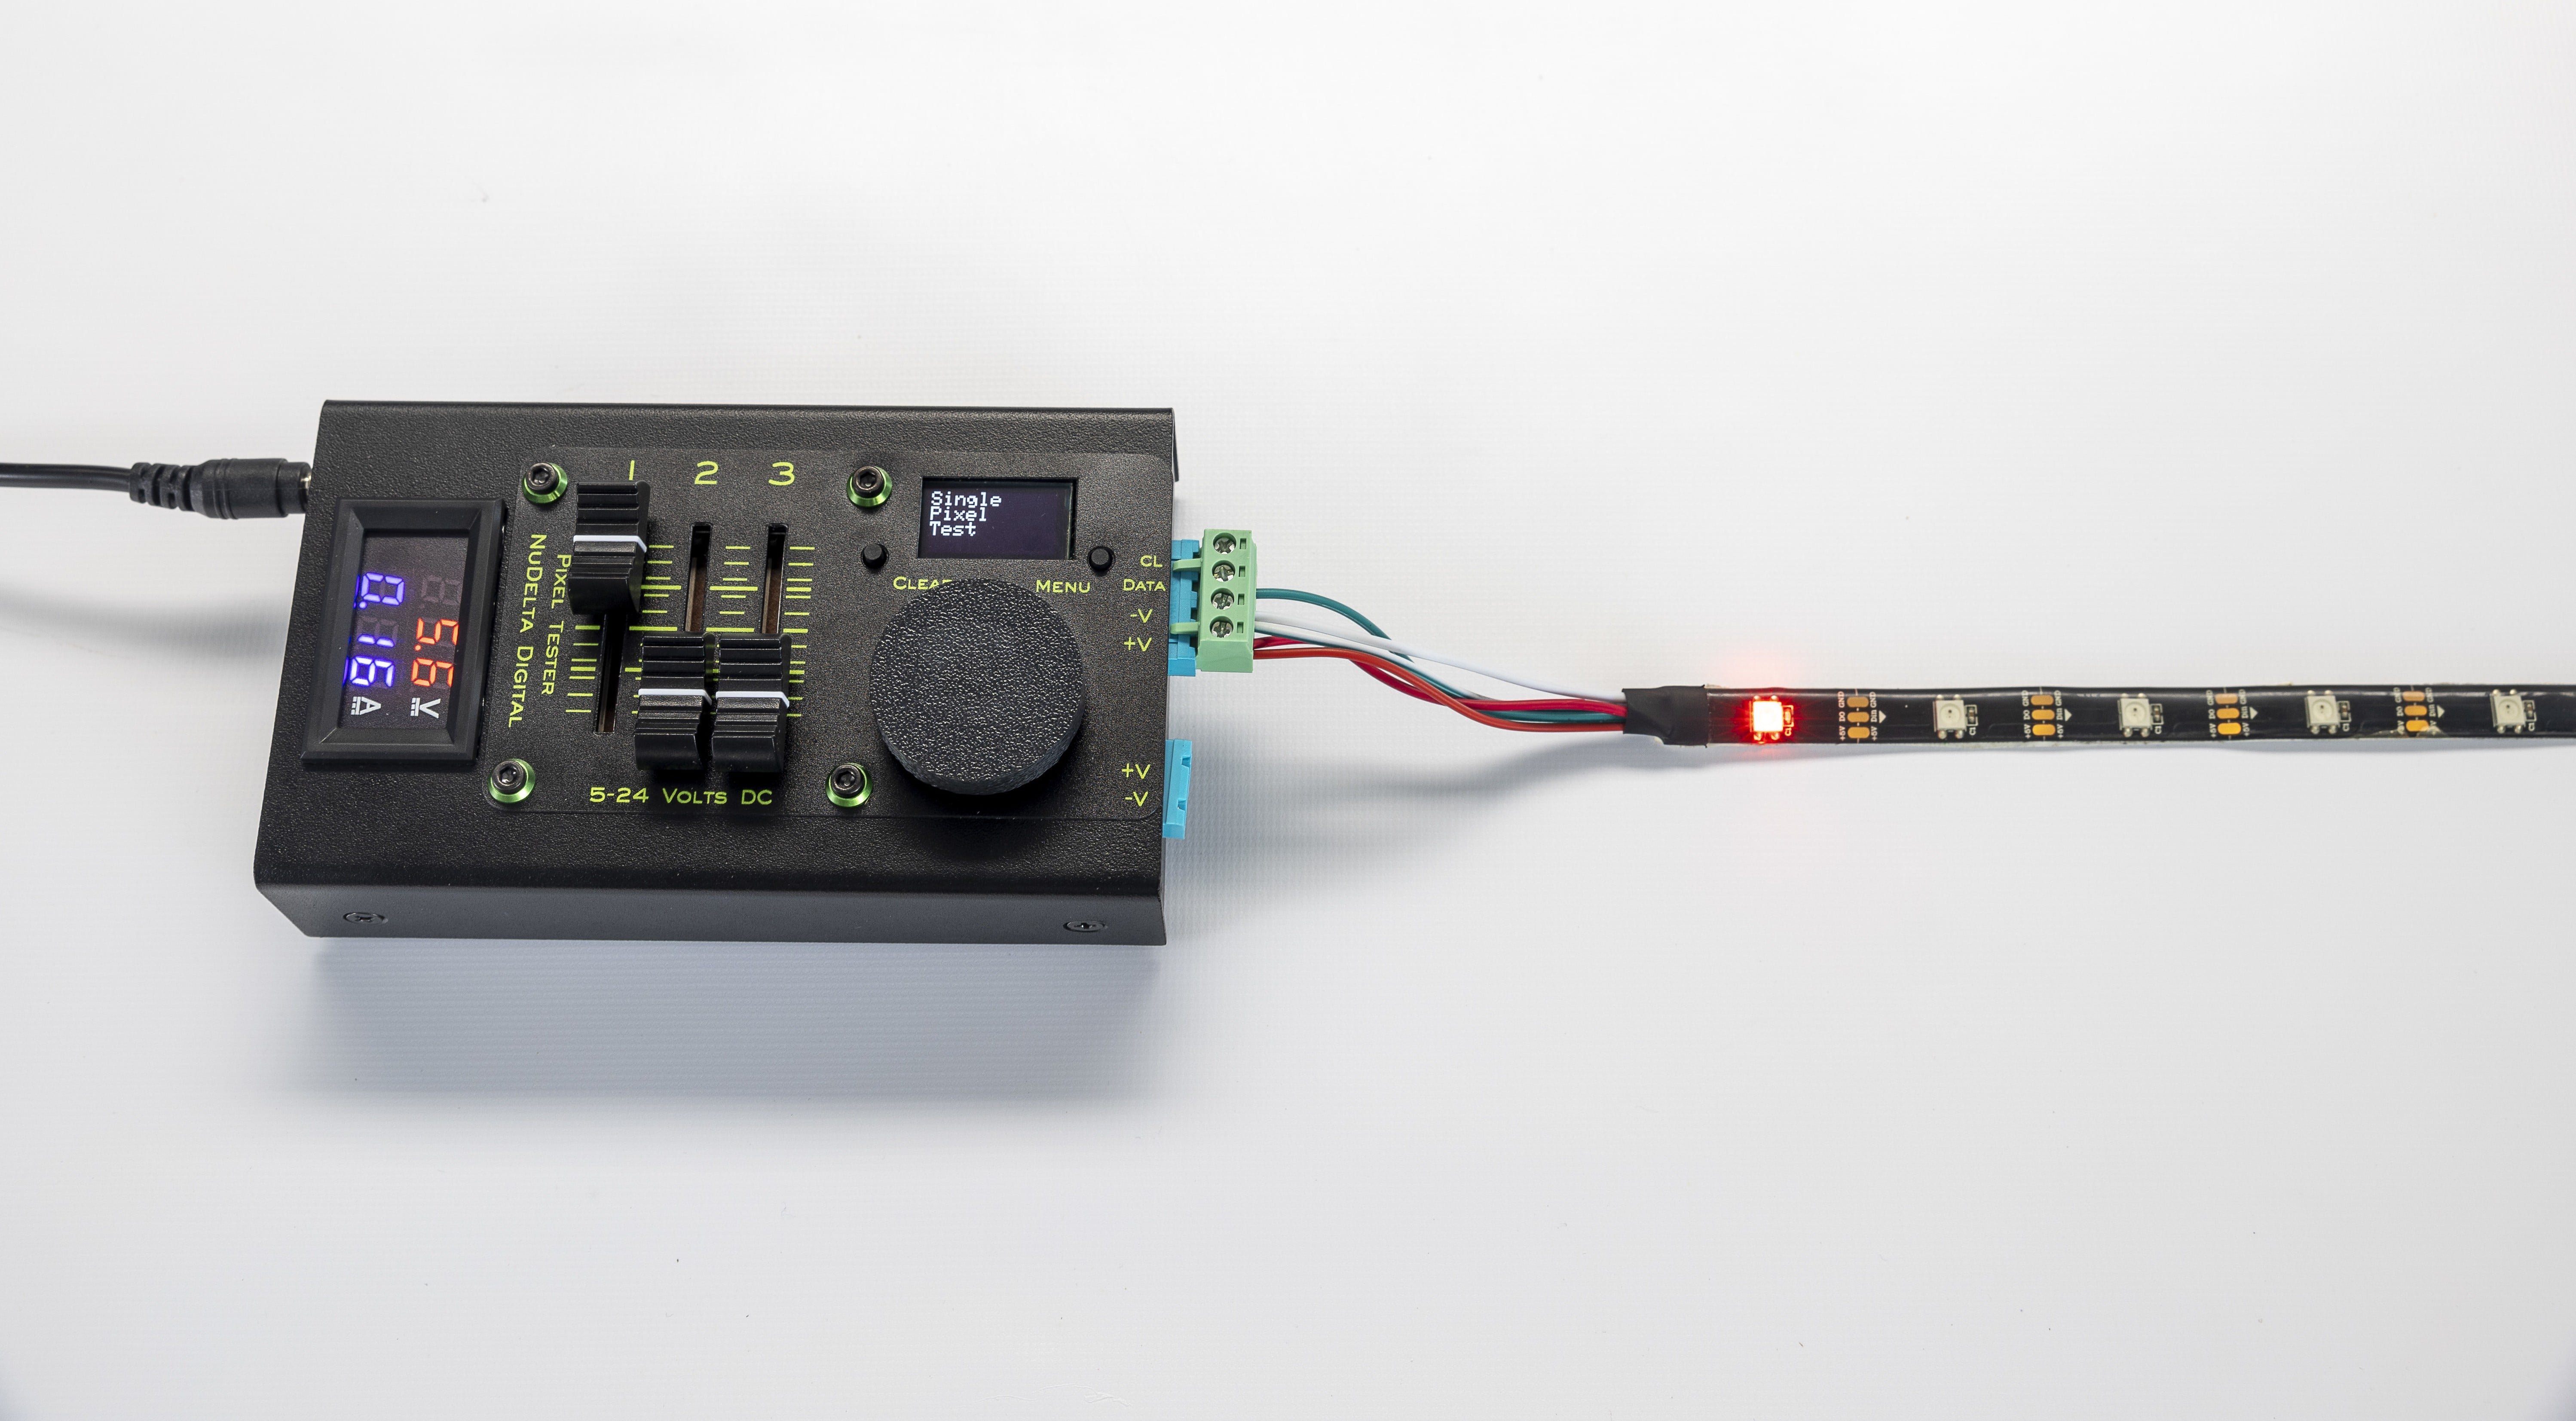
The four position Phoenix-style output connector is removable. Simply pull it away from the tester to remove. The Pixel Tester comes with two of these connectors. One connector is pre-wired with alligator style clips and the other is empty. You can connect the wires from LED tape directly to the empty connector or use the connector with the clips to temporarily connect to the wires on the LED tape for testing. The contact terminals on most LED tapes are too small to directly connect the alligator clips to the tape for testing. Wires usually need to be soldered onto the LED tape to be connected to a DMX driver or pixel controller. The bottom connection point, marked with a "+V" is for positive voltage between 5 and 24 volts depending on your LED pixels. The next connection point up from the bottom, marked with a "-V" is the negative or ground portion of the connection. The connection point marked "Data" goes to the Data In connection of your LED pixels. The connection point marked with "CL" is for the clock signal. Many of the individually addressable LED pixel products do not have a Clock signal so it may not be necessary to connect this part depending on you pixel model.

Color Coding of Wires
The four position Phoenix-style connector comes pre-wired with alligator clips. The clips are arranged in the following order from bottom to top: V+ is connected to Red, V- is connected to black, Data is connected to white and CL (clock) is connected to blue. If your LED pixel tape does not have a clock input, you can remove the blue wire to prevent it from accidently contacting one of the other wires and causing a short circuit.

Meter
The meter on the LTT1 LED Tester shows two readings. The top reading, marked with a “V” is the input voltage. This measures the voltage of the electricity going into the tester. This reading may fluctuate as some power supplies will decrease in voltage as the current increases. The bottom number marked with an “A” is the current. This number should increase as the brightness of LEDs increases. Do not exceed 10 amps of current through the tester.
Regulatory Information
1 Read these instructions.
2 Keep these instructions.
3 Heed all warnings.
4 Follow all instructions.
5 Do not use this apparatus near water.
6 Clean only with dry cloth.
7 Do not block any ventilation openings. Install inaccordance with the manufacturer’s instructions.
8 Do not install near any heat sources such asradiators, heat registers, stoves, or other apparatus(including amplifiers) that produce heat.
9 Do not defeat the safety purpose of the polarized orgrounding-type plug. A polarized plug has two bladeswith one wider than the other. A grounding type plughas two blades and a third grounding prong. The wideblade or the third prong are provided for your safety. Ifthe provided plug does not fit into your outlet, consultan electrician for replacement of the obsolete outlet.
10 Protect the power cord from being walked on orpinched particularly at plugs, conveniencereceptacles, and the point where they exit from theapparatus.11 Only use attachments/accessories specified by the manufacturer.
12 Use only with the cart, stand, tripod, bracket, or tablespecified by the manufacturer,or sold with the apparatus.When a cart is used, usecaution when moving the cart/apparatus combination toavoid injury from tip-over.
13 Unplug this apparatus during lightning storms orwhen unused for long periods of time.
14 Refer all servicing to qualified service personnel.Servicing is required when the apparatus has beendamaged in any way, such as power-supply cord orplug is damaged, liquid has been spilled or objectshave fallen into the apparatus, the apparatus hasbeen exposed to rain or moisture, does not operatenormally, or has been dropped.
15 This product is not intended for residential use. Thisproduct contains small parts that may be harmful to children
5.5 millimeter input connector on left side
LED tape connected using 5.5 millimeter power connector on left side.

To attach the safety tether attachment buckle, remove the short screw from the corner of the enclosure that you wish to attach the safety tether to. Then place the longer screw through the cupped washer, then through the buckle, then through the flat washer and screw the screw into the enclosure. The flat washer goes between the buckle and the enclosure to prevent the paint from being damaged and allow the buckle to rotate. If your Pixel Tester is missing the safety tether attachment buckle, contact us for a replacement.

Operation:
- Start by plugging in the power supply that you intend to use to power your LED pixels or pixel tape. The power supply should have the same voltage as the required voltage for the pixel tape and provide enough current to power all of the LED pixels.
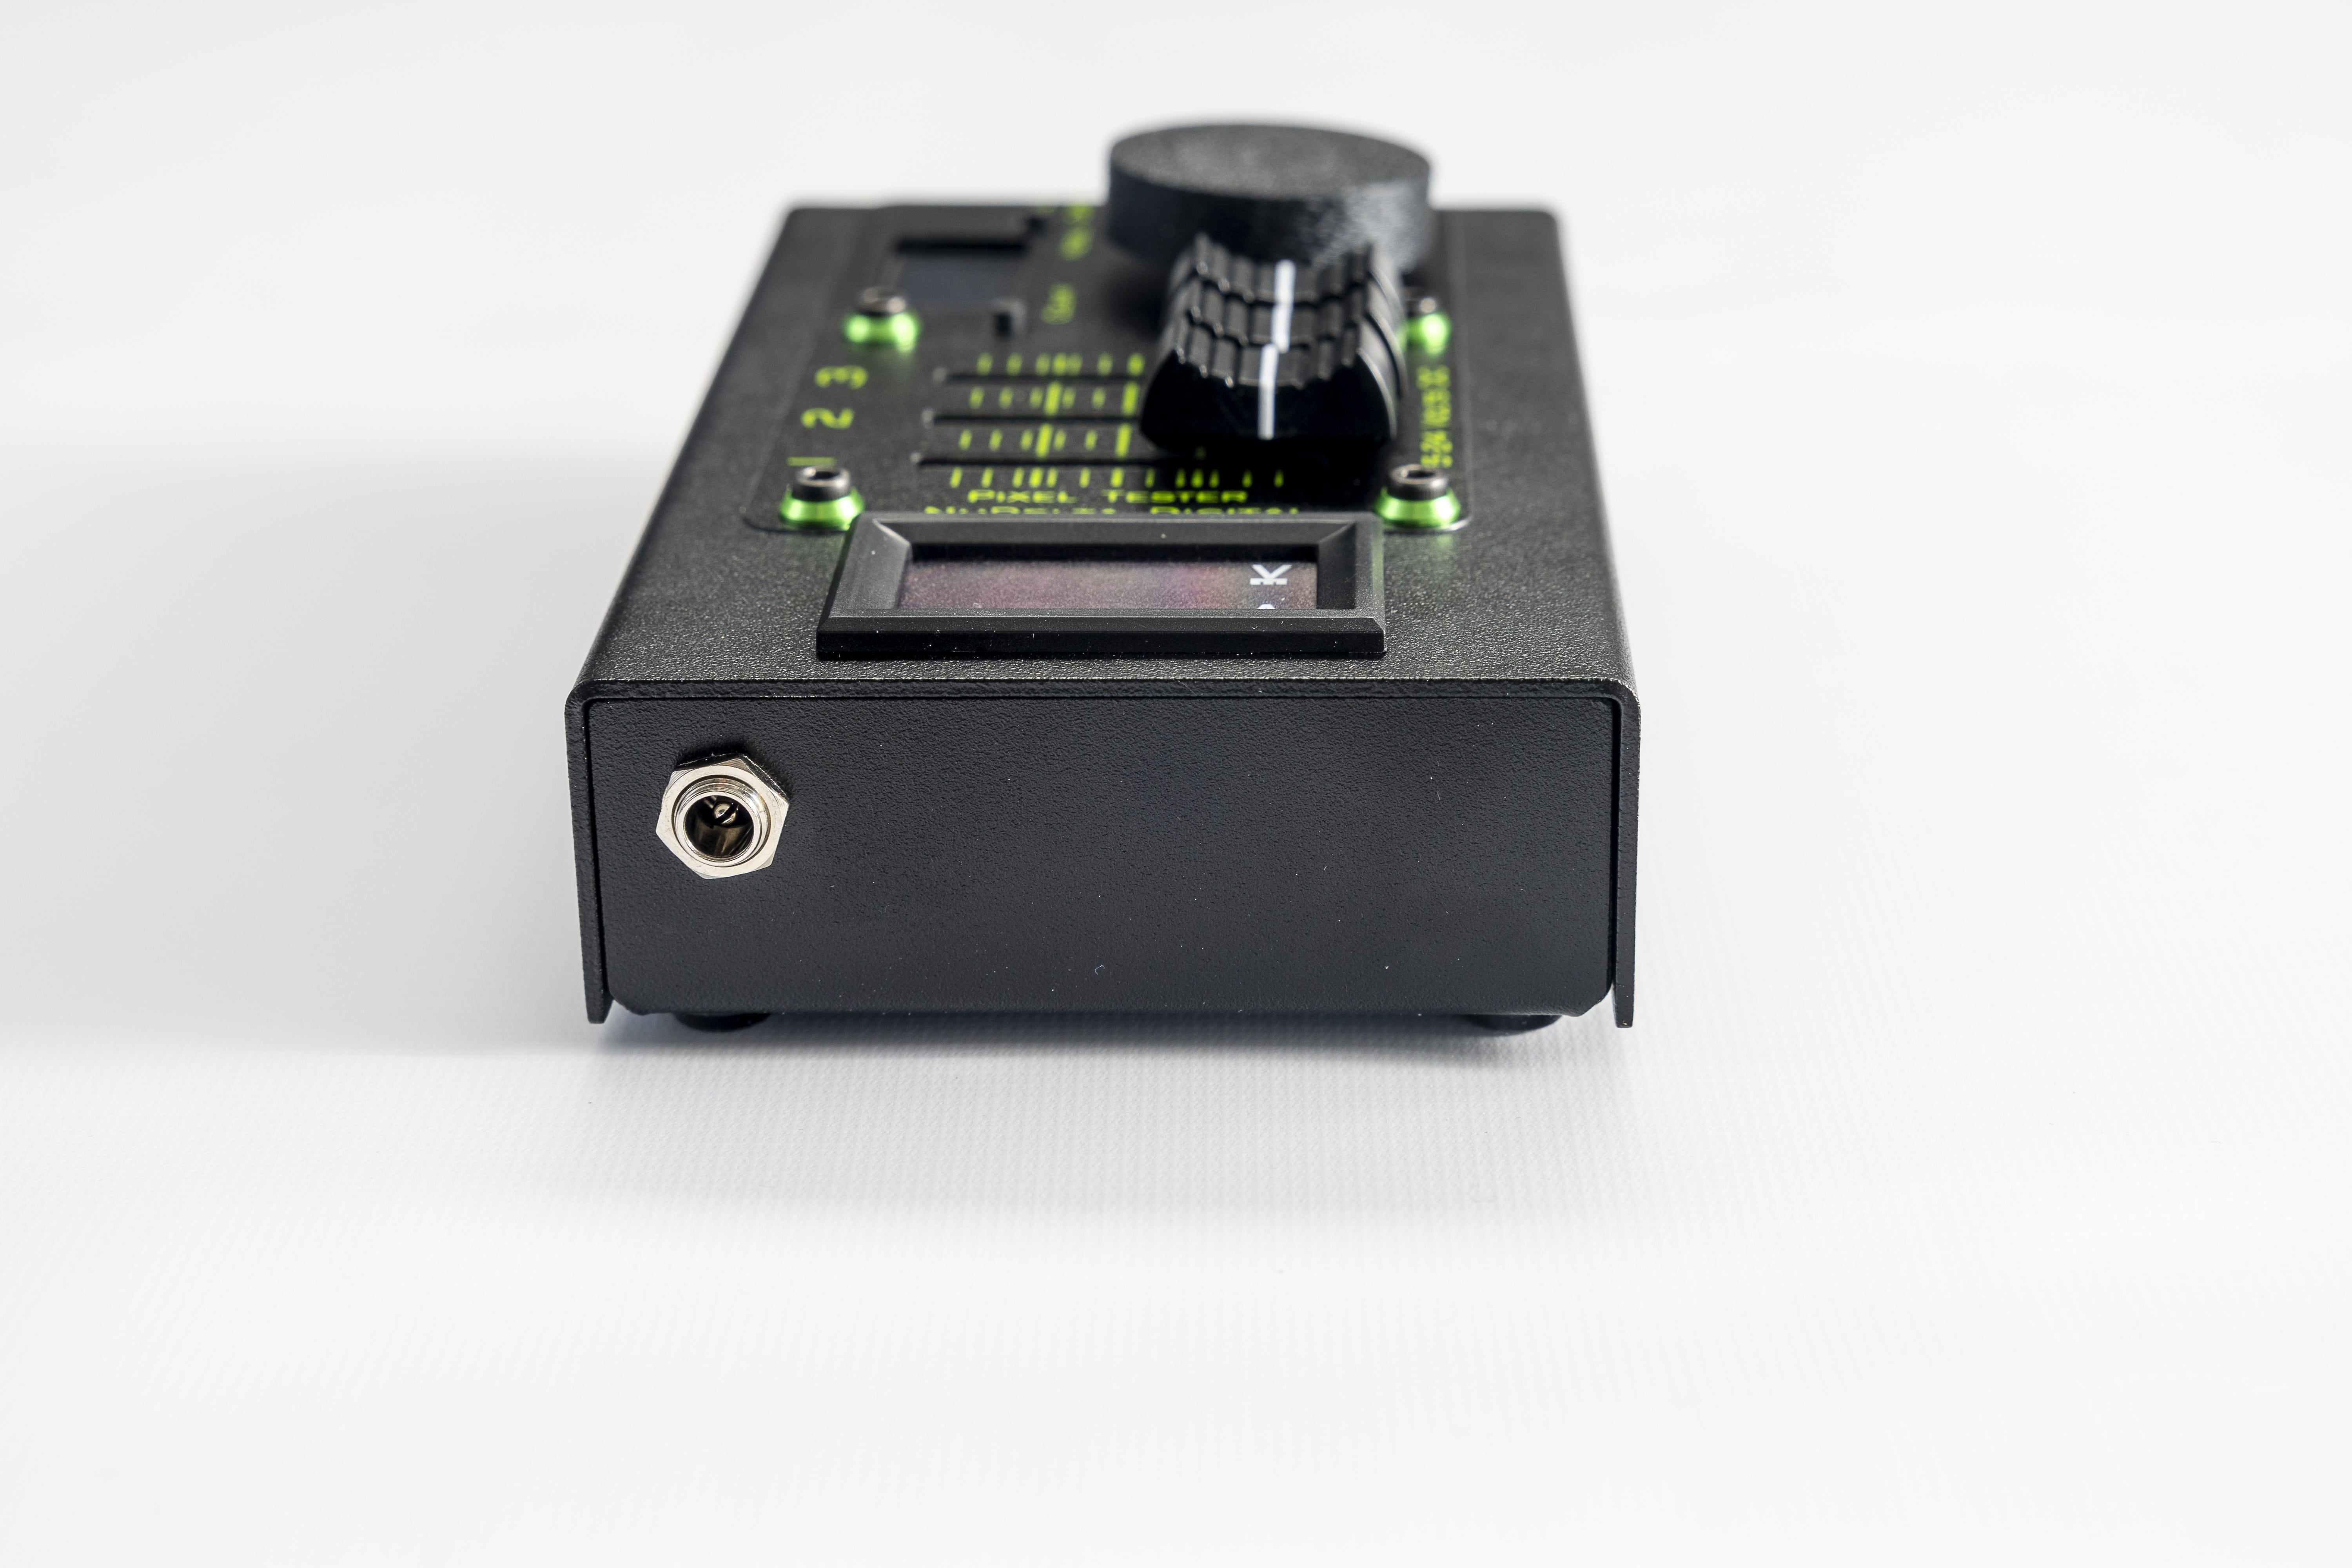
- The power supply can be plugged in to the 5.5 millimeter DC input connector on the left side of the tester. This input has a limit of 5 amps of current.
- Alternatively, you can plug the power supply into the two-position screw terminal connector on the lower right side of the tester. This connector has a limit of 10 amps.
- Once the power supply is connected, you should be able to see the voltage level on the LED readout. The current will also be displayed. Even with no LED pixels connected, the current readout will display a small amount of current that the tester itself is using.
- Once you have confirmed that your power supply is correct and functioning, press the menu button and use the scroll wheel to navigate to the Pixel Type menu. Pressing down on the scroll wheel acts as the "Enter" button.
- Use the scroll wheel to find the pixel type that you would like to use and then press enter, Pressing the "Clear" button will exit the menu.
- Connect the LED pixel tape or module using the screw terminal connector.
- Use the faders to adjust the brightness and color. The first pixel closest to the controller should be illuminated.
- Turning the scroll wheel should move the illuminated pixel to the next position.
- Pressing down on the scroll wheel will activate "Multi Pixel Mode"
- Multi Pixel Mode allows you to select a group of LED pixels at once. Pressing the scroll wheel a second time deactivates the Multi Pixel Mode.
- There are a variety of test sequences and chases located under the Test Sequence heading in the menu. The test sequences will run until the Clear button is pressed.
- The test sequences are: Rainbow 1 is a static rainbow spread across 8 pixels. Fader 3 adjusts the brightness of the test pattern.
- Rainbow 2 is a slowly changing rainbow pattern spread across 128 pixels. Fader 3 adjusts the brightness of the test pattern.
- Adjustable Rainbow is a static rainbow pattern with adjustable parameters. Fader 1 adjusts the number of times the rainbow repeats, between 0 and 255. Fader 2 adjusts the starting color of the rainbow. Fader 3 adjusts the brightness of the rainbow.
- Solid Fill fills all of the pixels (up to 1000) with color. The three faders adjust each color individually. The color order depends on the type of pixel being used.
Helpful hints:
- Use the Pixel Tester to test your power supply before plugging in your LED tape. This way, if the power supply voltage is too high for your LED tape, you will not risk damaging your LED tape.
- When soldering wires to LED tape, strip off the insulation to the same length as the length of the terminal or copper strip on the tape. It may not seem like enough insulation is removed, but when the wire is heated, the insulation recedes.
- After the wires have been soldered onto the tape, and you have tested the tape to make sure it works, apply a thin layer of hot glue or silicone caulking to the soldered wire connection. This will prevent the wires from touching each other which would cause a short circuit. The glue or caulking will also act as a strain relief to prevent the wires from being pulled off.
- Apply a piece of heat shrink tubing to the soldered connection to further prevent short circuits and make the connection look nicer.
- For maximum brightness, solder power input wires to both ends of your LED tape. On long runs of LED tape, the voltage drops down as it goes through the tape. Adding wires to both ends and connecting both ends to the LED Tape Tester or the driver or dimmer that you are using, will prevent the voltage from dropping as much. Wires may need to be added to the middle of an extremely long run of LED tape.
- For portable testing, batteries can be used. There are adapters for popular tool batteries such as Dewalt and Milwaukee. Some models of the adapter will connect to 12 volt or 24 volt batteries directly. There are also adapters available that convert from a higher voltage, such as 20 volts, down to 12 volts. These adapters are a convenient way to use your common tool battery to power your Pixel Tester.
- When shopping for LED tape, consider the color that you will be trying to achieve. Tape that contains other colors such as warm white or cool white in addition to red, blue, and green, will be able to achieve a wider variety of colors, especially in the pastel palette.
- When shopping for LED tape, consider how it will be mounted. Most LED tape comes with an adhesive backing but it usually does not adhere well to most surfaces. Consider the use of aluminum extruded channels to mount the LED tape, especially for permanent installations. The channels offer protection from damage and can include diffusion covers to help spread the light out. These channels are available wherever LED tape is sold.
Regulatory Information Continued:
Disposal of electrical and electronic equipment:
(a)All electrical and electronic equipment should be disposed of separately from the municipal waste stream via collection facilities designated by the government or local authorities.(b)By disposing of electrical and electronic equipment correctly, you will help save valuable resources and prevent any potential negative effects on human health and the environment.(c)Improper disposal of waste electrical and electronic equipment can have serious effects on the environment and human health because of the presence of hazardous substances in the equipment.(d)The Waste Electrical and Electronic Equipment (WEEE) symbol, which shows a wheeled bin that has been crossed out, indicates that electrical and electronic equipment must be collected and disposed of separately from household waste.(e)Return and collection systems are available to end users. For more detailed information about the disposal of old electrical and electronic equipment, please contact your city office, waste disposal service or the shop where you purchased the equipment. Disposal of batteries and/or accumulators(a)Waste batteries and/or accumulators should be disposed of separately from the municipal waste stream via collection facilities designated by the government or local authorities.(b)By disposing of waste batteries and/or accumulators correctly, you will help save valuable resources and prevent any potential negative effects on human health and the environment.(c)Improper disposal of waste batteries and/or accumulators can have serious effects on the environment and human health because of the presence of hazardous substances in them.(d)The WEEE symbol, which shows a wheeled bin that has been crossed out, indicates that batteries and/or accumulators must be collected and disposed of separately from household waste.If a battery or accumulator contains more than the specified values of lead (Pb), mercury (Hg), and/or cadmium (Cd) as defined in the Battery Directive (2006/66/EC), then the chemical symbols for those elements will be indicated beneath the WEEE symbol.(e)Return and collection systems are available to end users. For more detailed information about the disposal of waste batteries and/or accumulators, please contact your city office, waste disposal service or the shop where you purchased them.
(a)All electrical and electronic equipment should be disposed of separately from the municipal waste stream via collection facilities designated by the government or local authorities.(b)By disposing of electrical and electronic equipment correctly, you will help save valuable resources and prevent any potential negative effects on human health and the environment.(c)Improper disposal of waste electrical and electronic equipment can have serious effects on the environment and human health because of the presence of hazardous substances in the equipment.(d)The Waste Electrical and Electronic Equipment (WEEE) symbol, which shows a wheeled bin that has been crossed out, indicates that electrical and electronic equipment must be collected and disposed of separately from household waste.(e)Return and collection systems are available to end users. For more detailed information about the disposal of old electrical and electronic equipment, please contact your city office, waste disposal service or the shop where you purchased the equipment. Disposal of batteries and/or accumulators(a)Waste batteries and/or accumulators should be disposed of separately from the municipal waste stream via collection facilities designated by the government or local authorities.(b)By disposing of waste batteries and/or accumulators correctly, you will help save valuable resources and prevent any potential negative effects on human health and the environment.(c)Improper disposal of waste batteries and/or accumulators can have serious effects on the environment and human health because of the presence of hazardous substances in them.(d)The WEEE symbol, which shows a wheeled bin that has been crossed out, indicates that batteries and/or accumulators must be collected and disposed of separately from household waste.If a battery or accumulator contains more than the specified values of lead (Pb), mercury (Hg), and/or cadmium (Cd) as defined in the Battery Directive (2006/66/EC), then the chemical symbols for those elements will be indicated beneath the WEEE symbol.(e)Return and collection systems are available to end users. For more detailed information about the disposal of waste batteries and/or accumulators, please contact your city office, waste disposal service or the shop where you purchased them.