LogiCue Net System Manual
QLN2 Cue Light Configuration

LC12N With QLN2 Cue Light
As with the controller, it may be necessary to change the ip address range or group for your QLN2 Cue Lights to work on the same network as other equipment.
QLN2 IP Address Ranges and Groups
Depending on your network configuration, you might need to change your ip addresses of your LogiCue Net System. For example, you might want to avoid using address that are close to the addresses of lighting or sound equipment on your network.
The LogiCue Net System has pre-programmed ip addresses. There are four ip address ranges:
Range 1: 10.201.2.X
Range 2: 10.50.2.X
Range 3: 172.30.2.X
Range 4: 192.168.2.X
The "X" in the list above is the ip address group. For Cue Lights, the group numbers are related to their LogiCue address
Group 1: 21 to 32
Group 2: 41 to 52
Group 3: 61 to 72
Group 4: 81 to 92
So a Cue Light in Range 1, Group 1, with an address of 1 would have the ip address 10.201.2.21.
A Cue Light in Range 1, Group 1 with an address of 12 would be 10.201.2.32
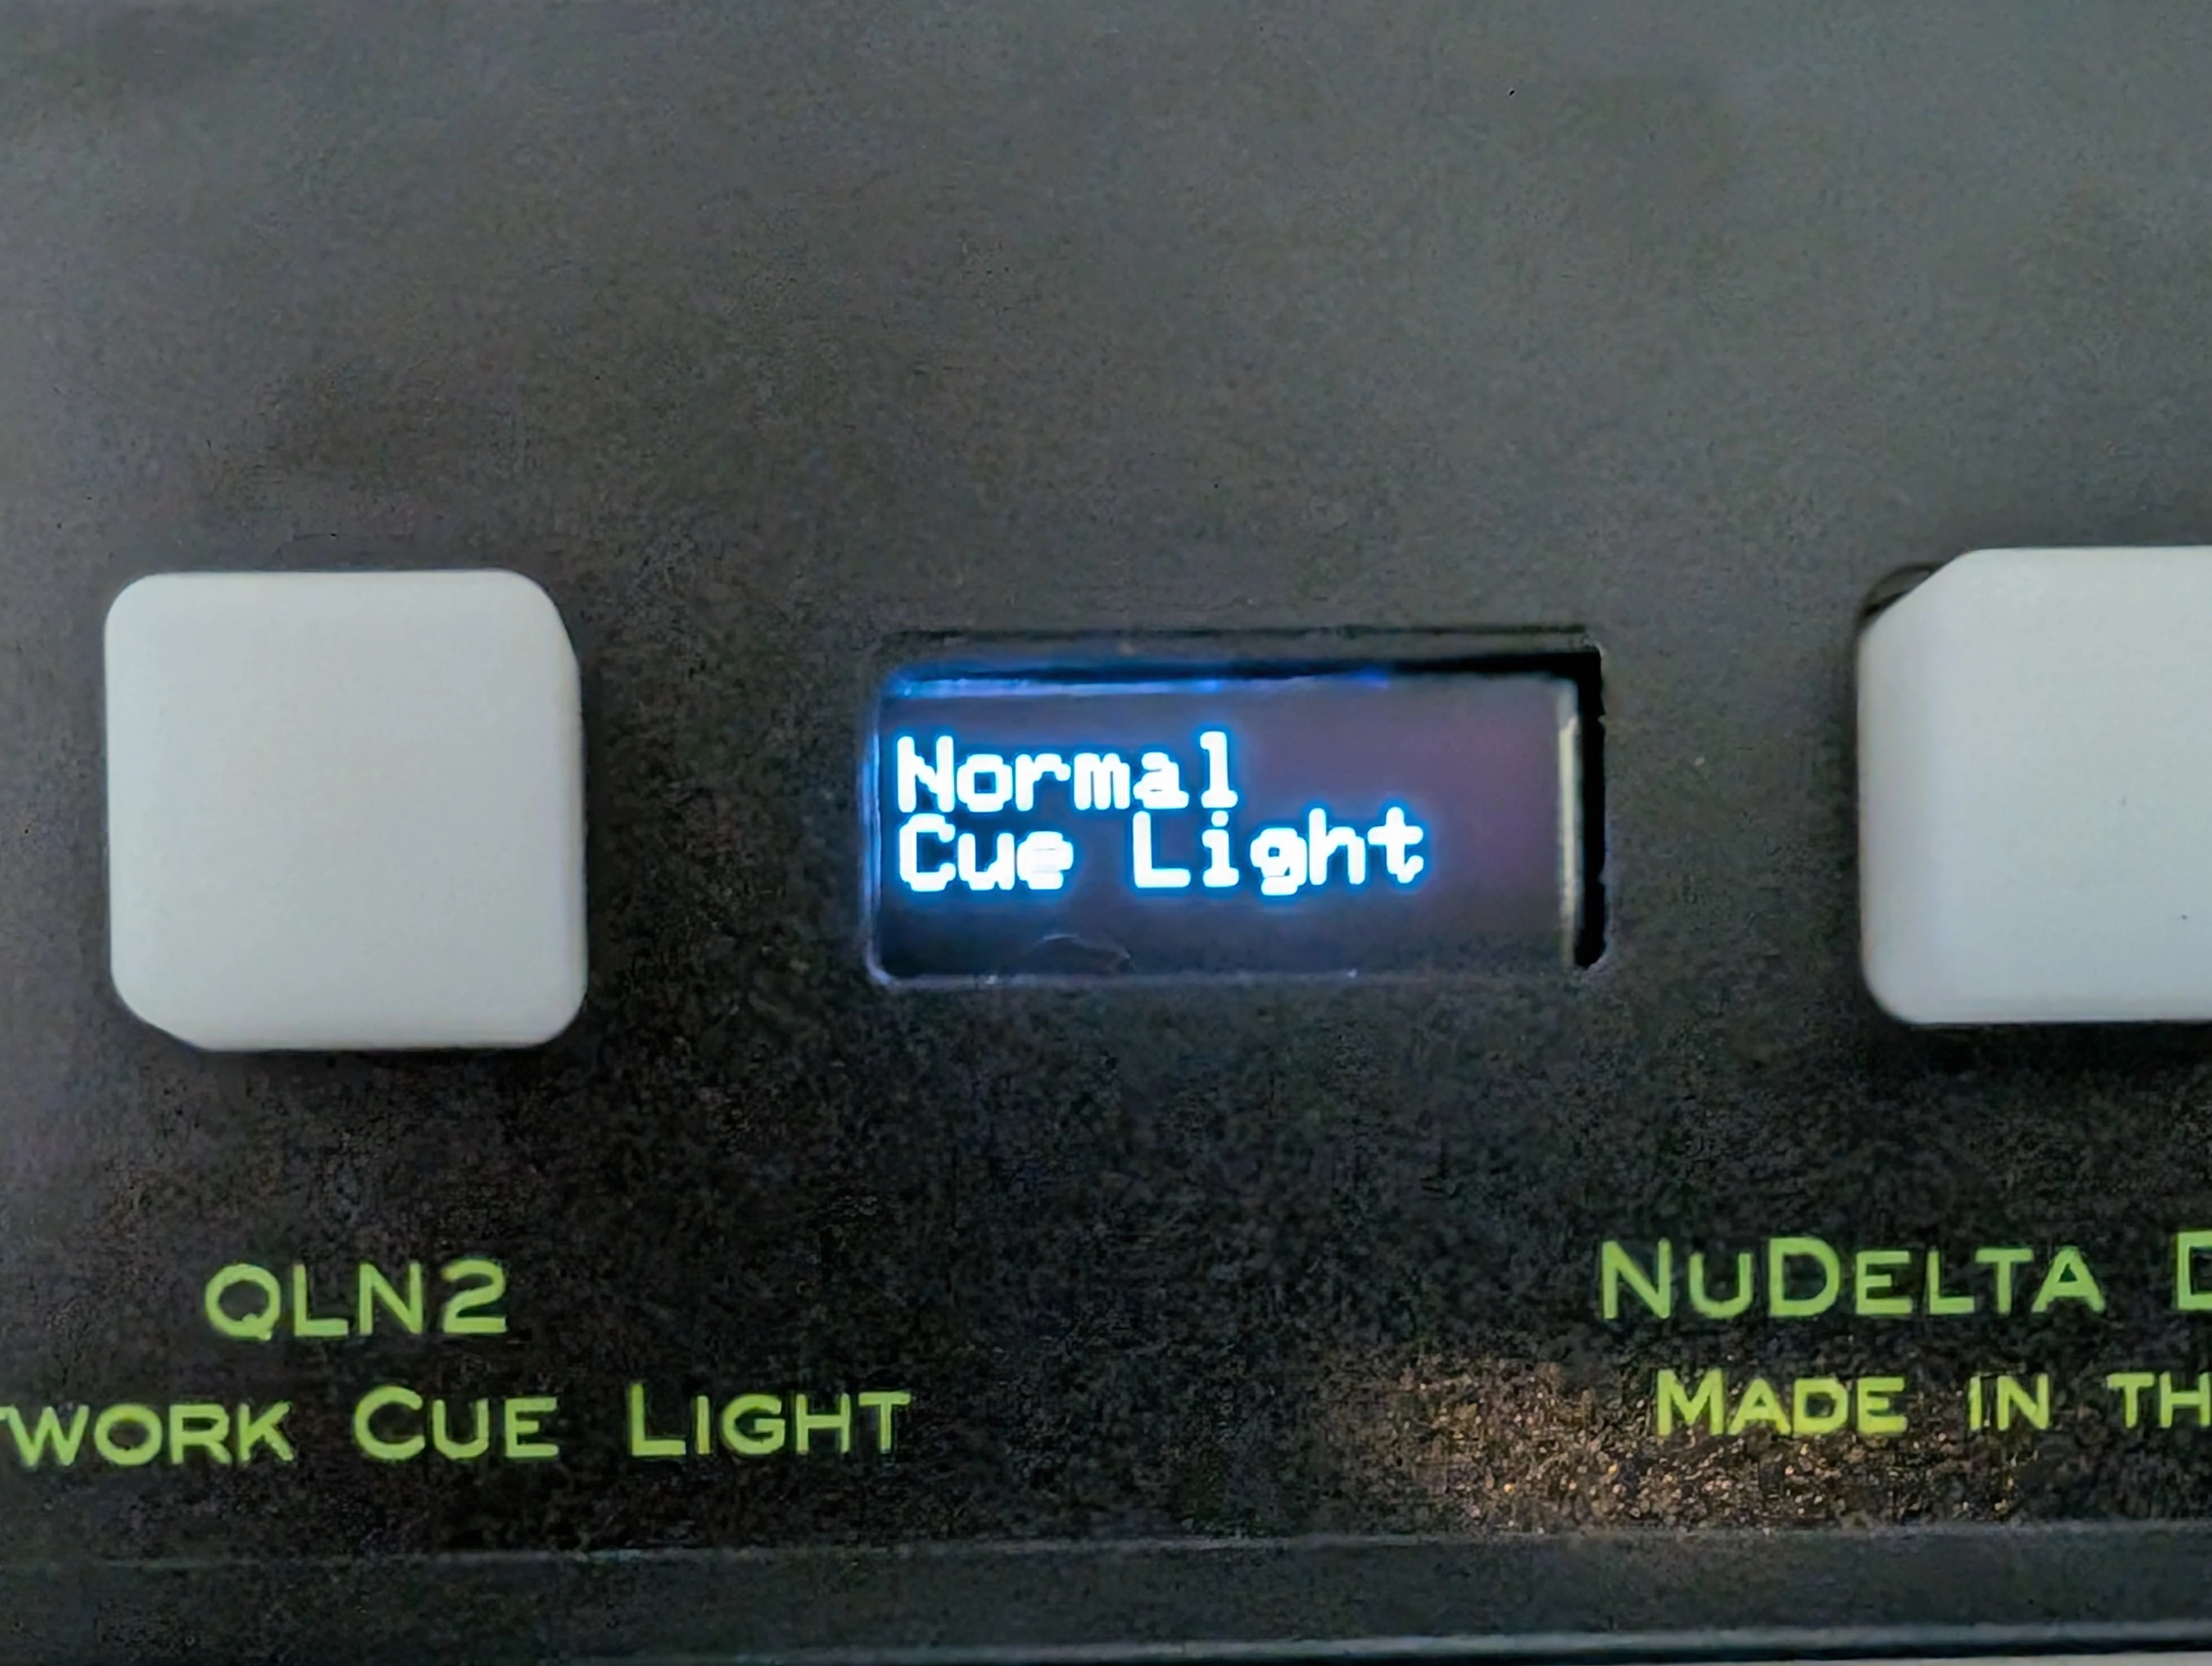
To change the ip address range of a QLN2 Cue Light, unplug the ethernet cable from the cue light. Hold down the left button while plugging the cue light in. After a few seconds, the word "Menu" will appear, followed by the operating mode, "Normal Cue Light" or "Cue Light as a Controller". These functions are explained later in this guide. Press the left button to toggle through the different menu options. The options are, operating mode, ip address range, ip address group, and firmware update.
To change the ip address range, stop pressing the left button once the ip address range appears. Press and hold the right button (the button closest to the connector). A countdown will appear on the screen. After the countdown is finished, you can press the right button to toggle through the four different ip address ranges. Once you get to the range you want, wait for approximately 8 seconds and the range will be recorded.
Any time you change the ip range or the ip group, it is a good idea to re-boot the ethernet switch so that all of the traffic can be directed properly.
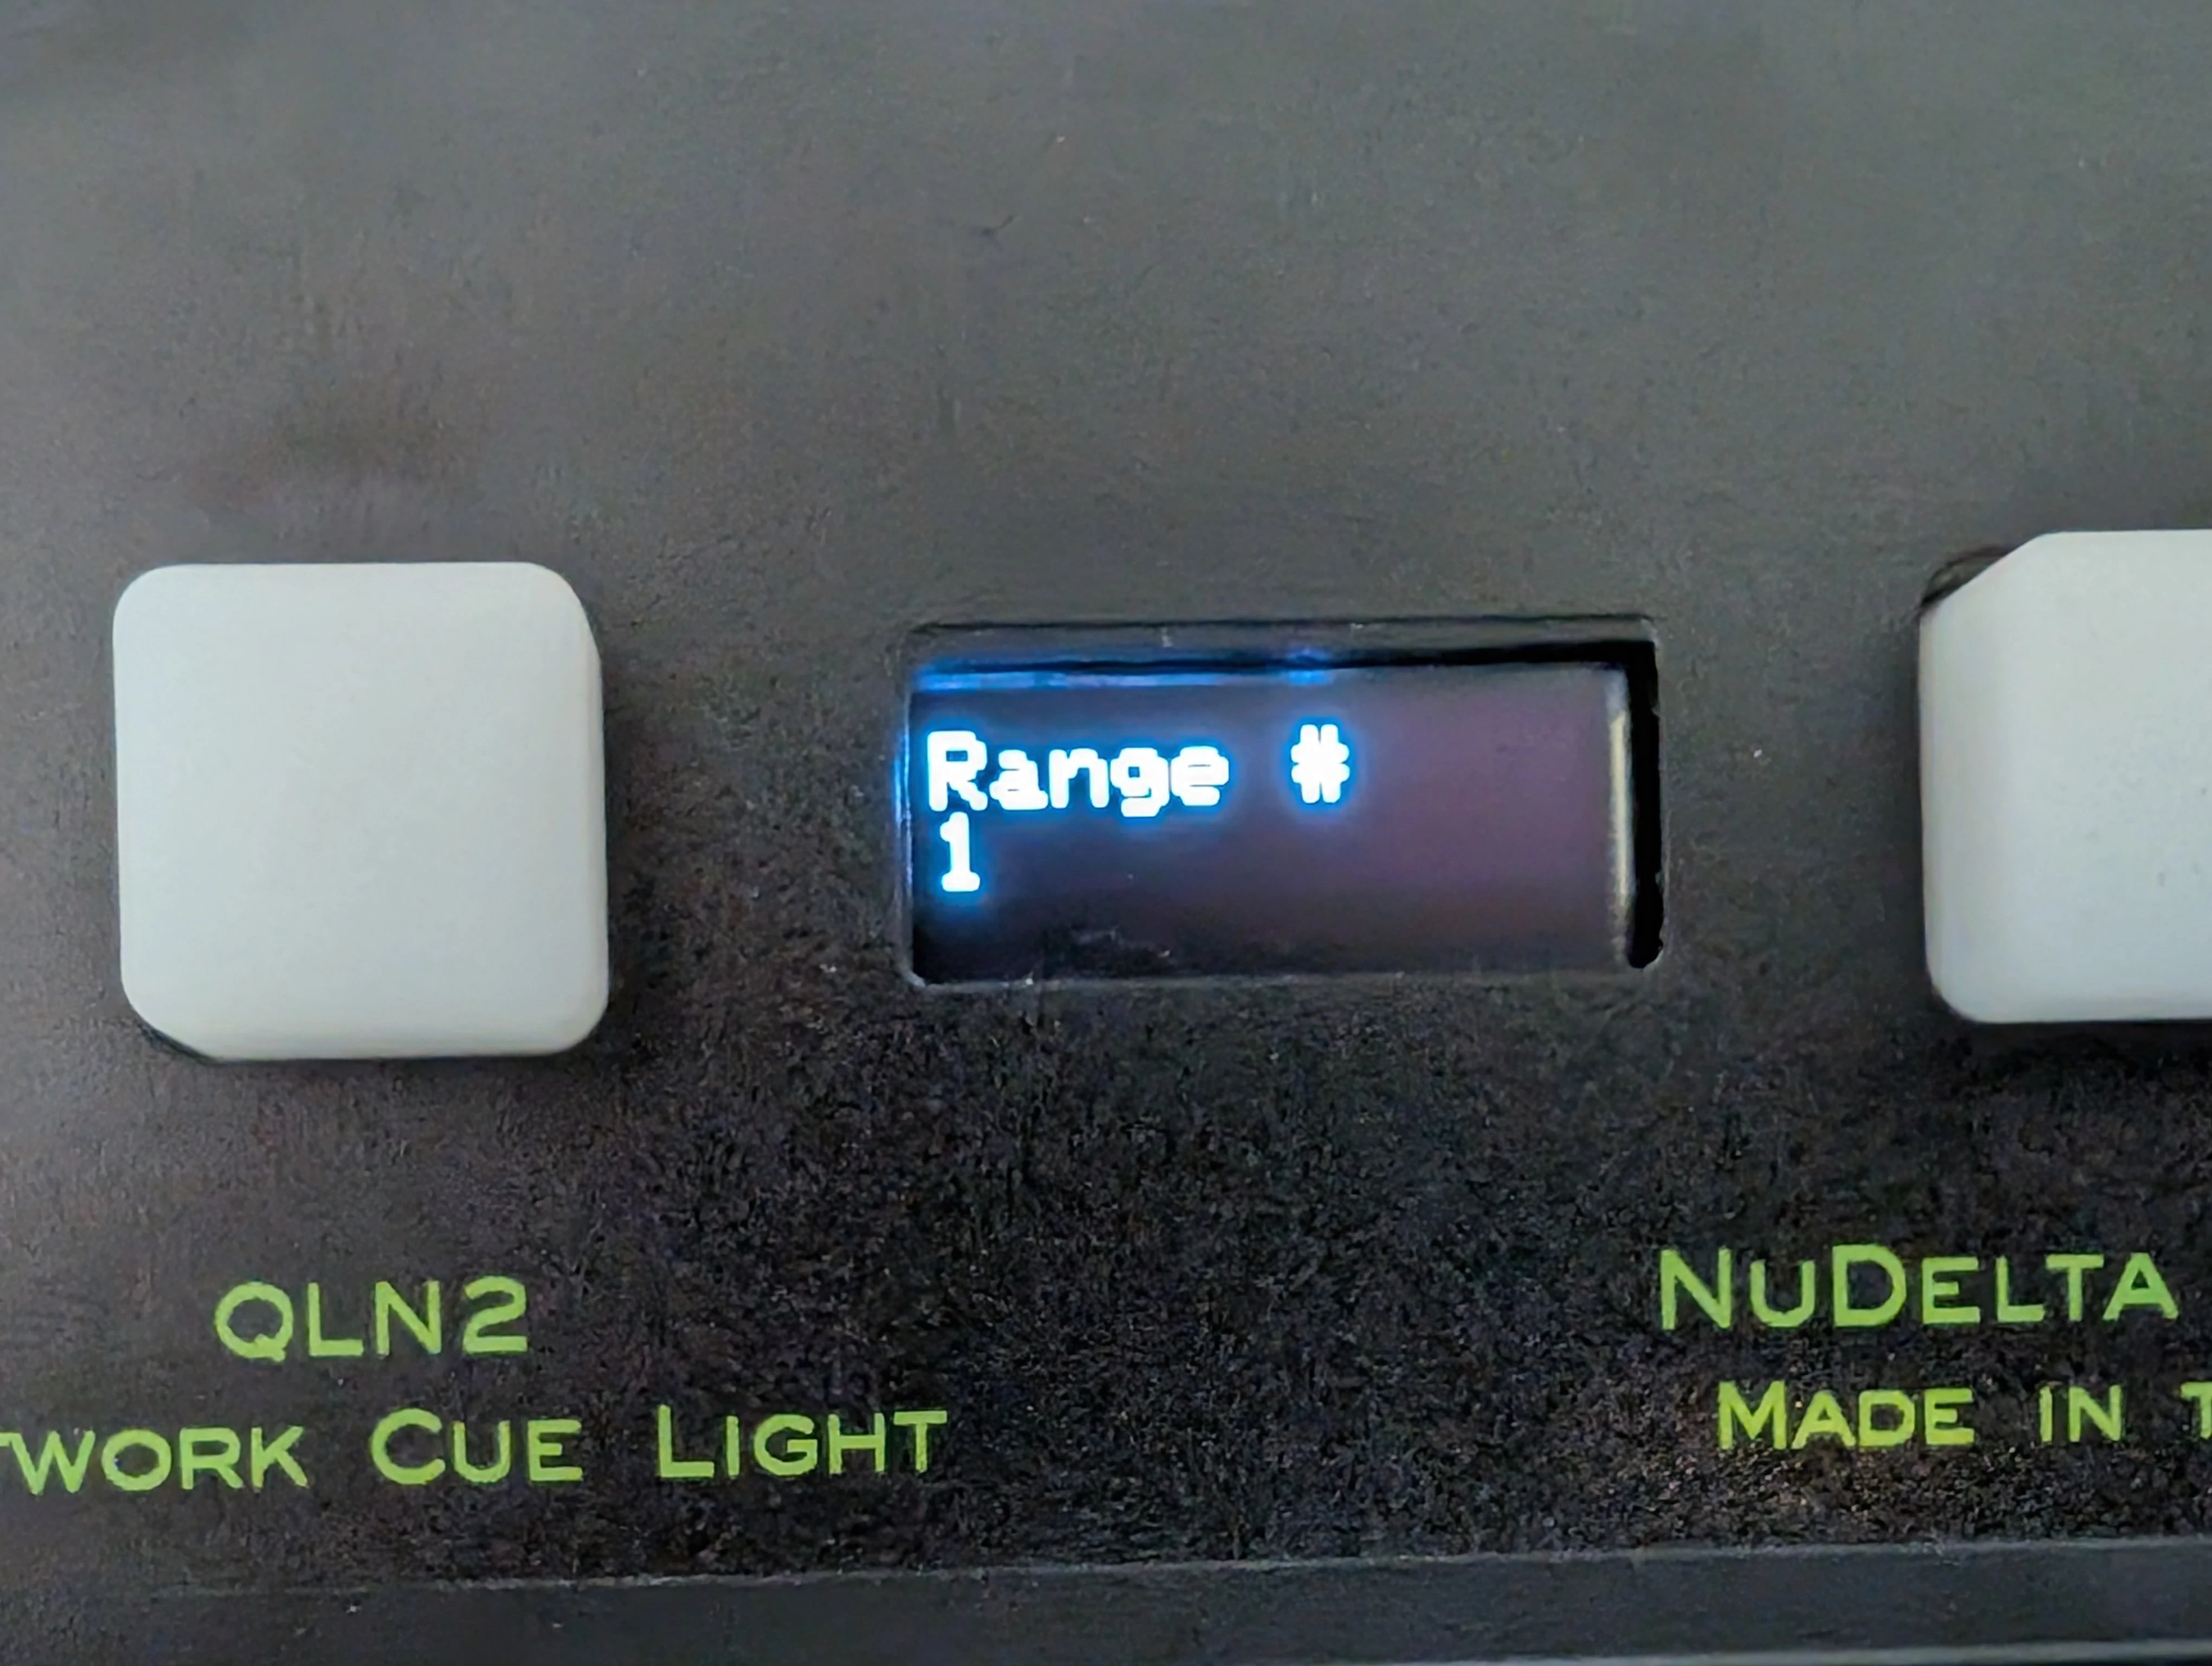
Once you get to the range setting, press and hold the button on the right until the countdown is complete.
.JPG)
Hold the right button until the countdown is complete. Then tap the right button to toggle through the 4 different ip address ranges.
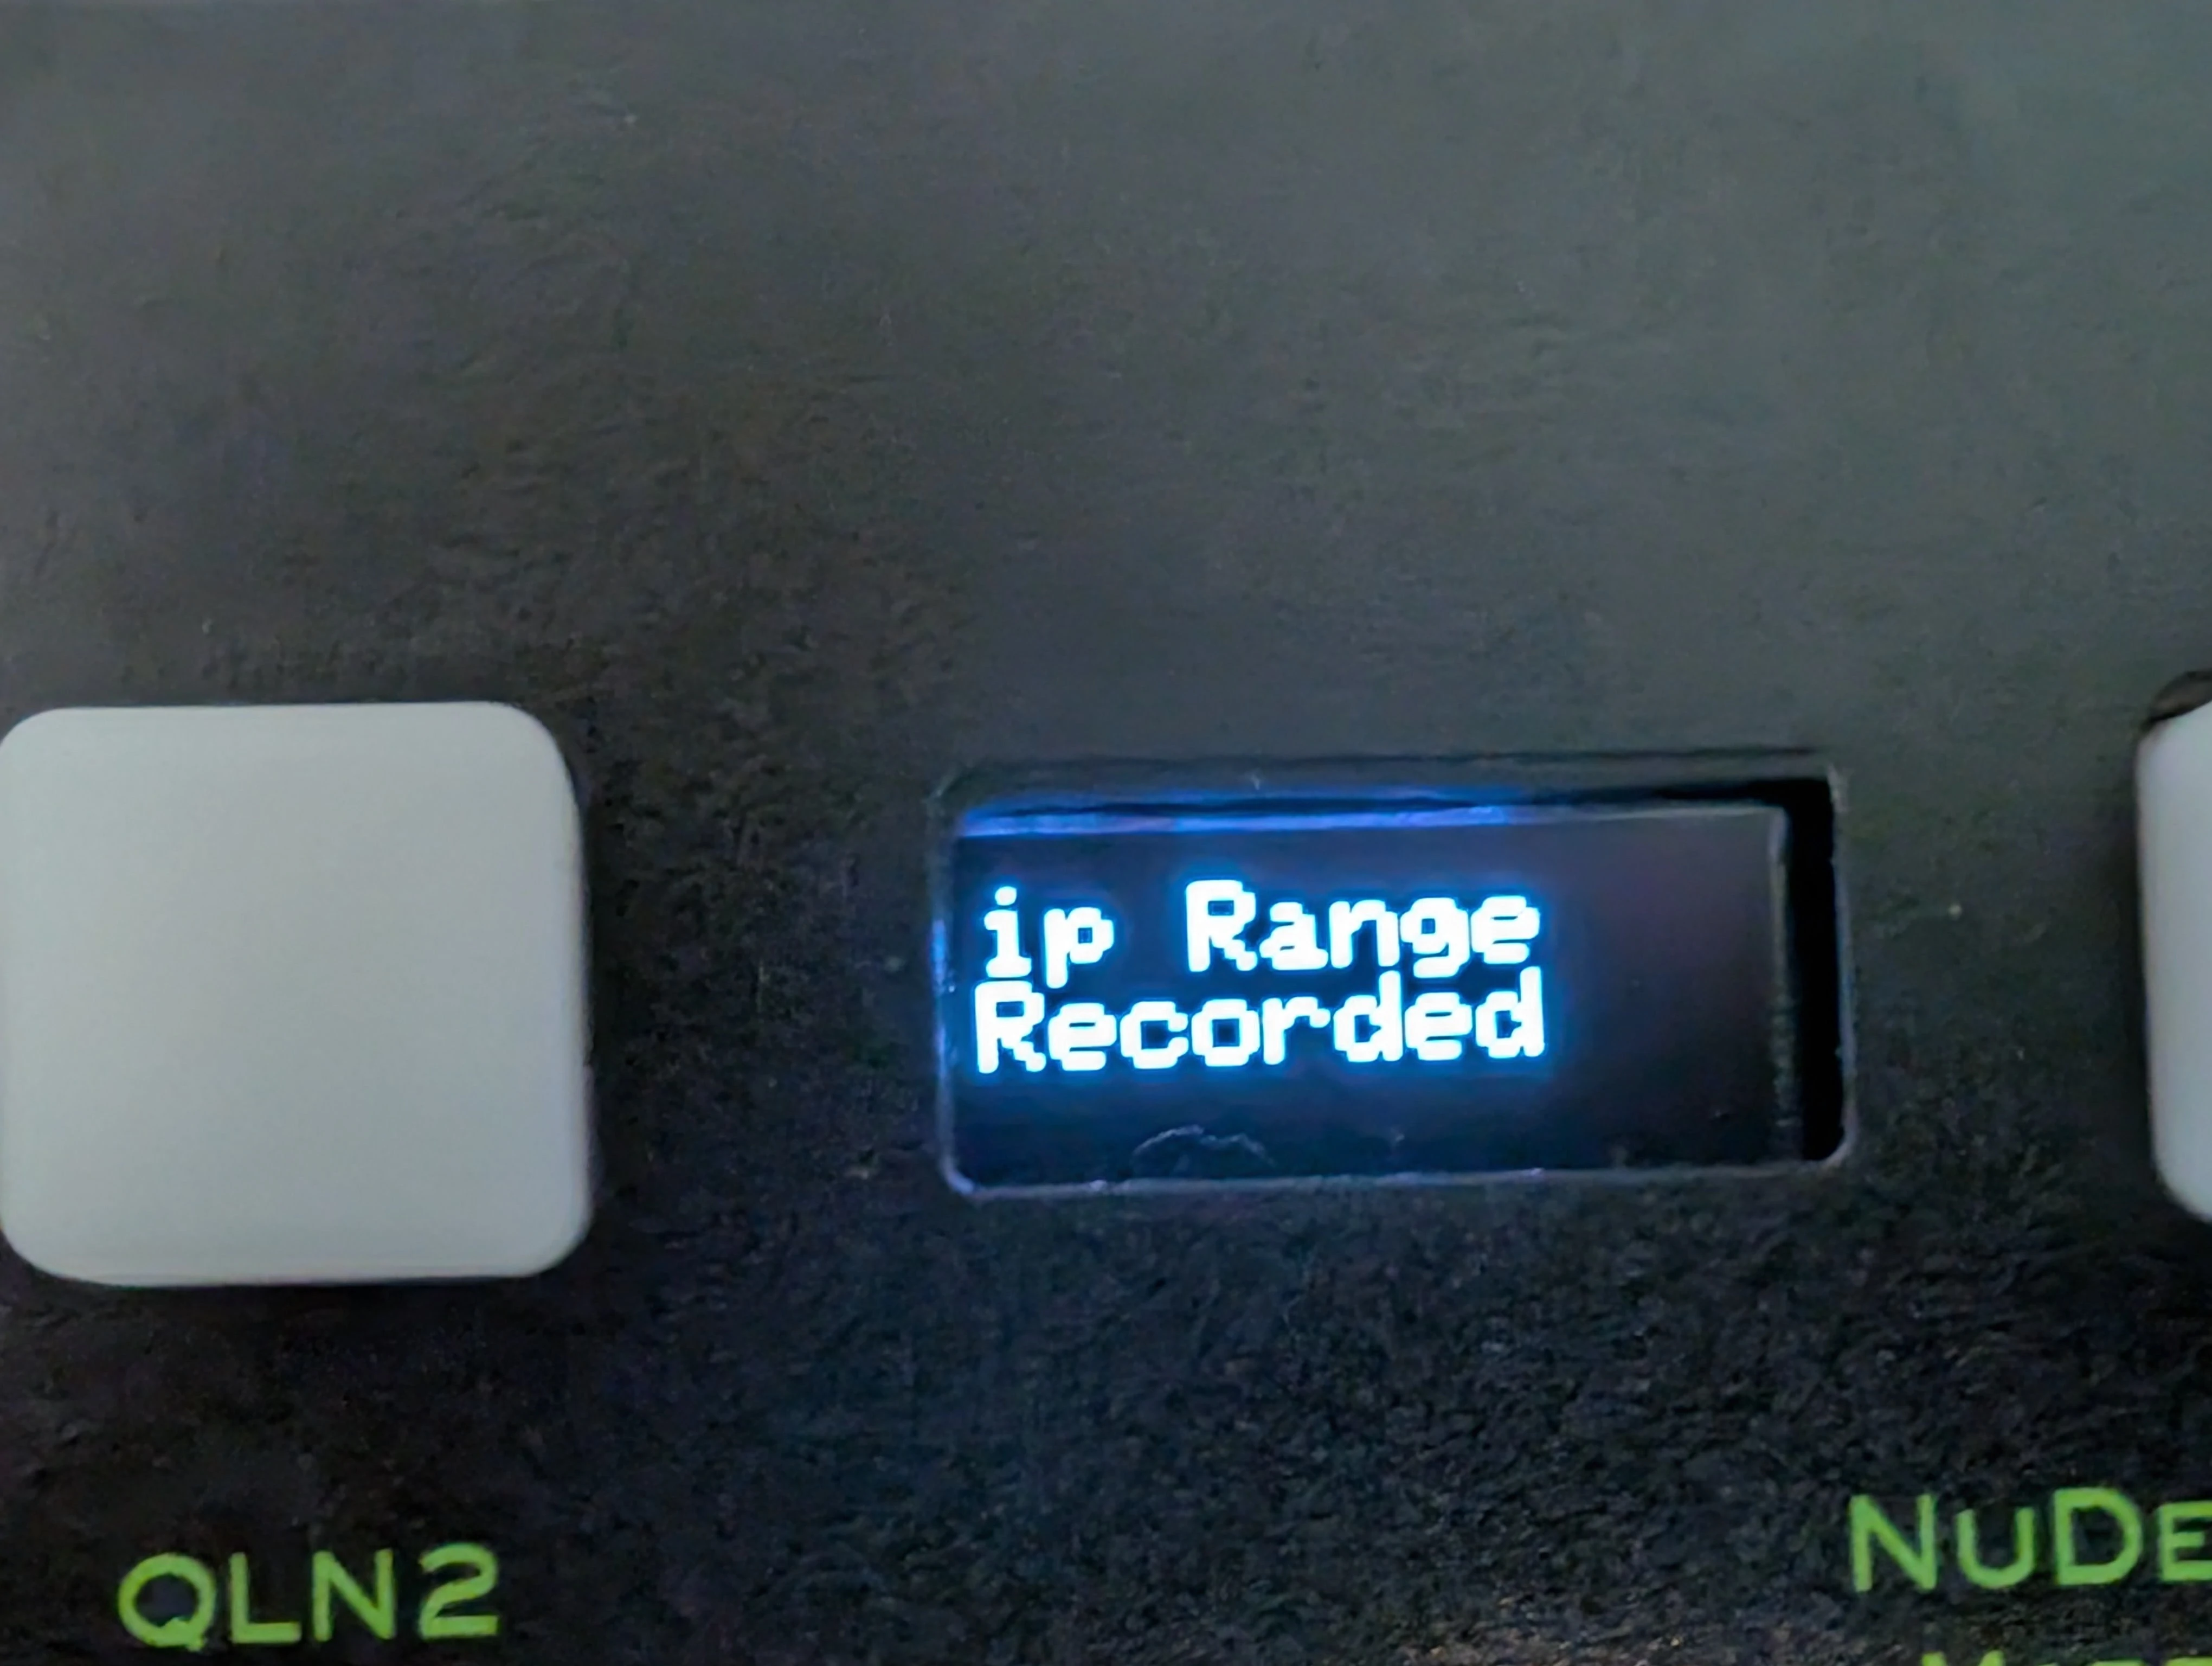
After you get to the ip address range that you would like to use, just wait about 8 seconds and the range will be recorded and the cue light will display this message.
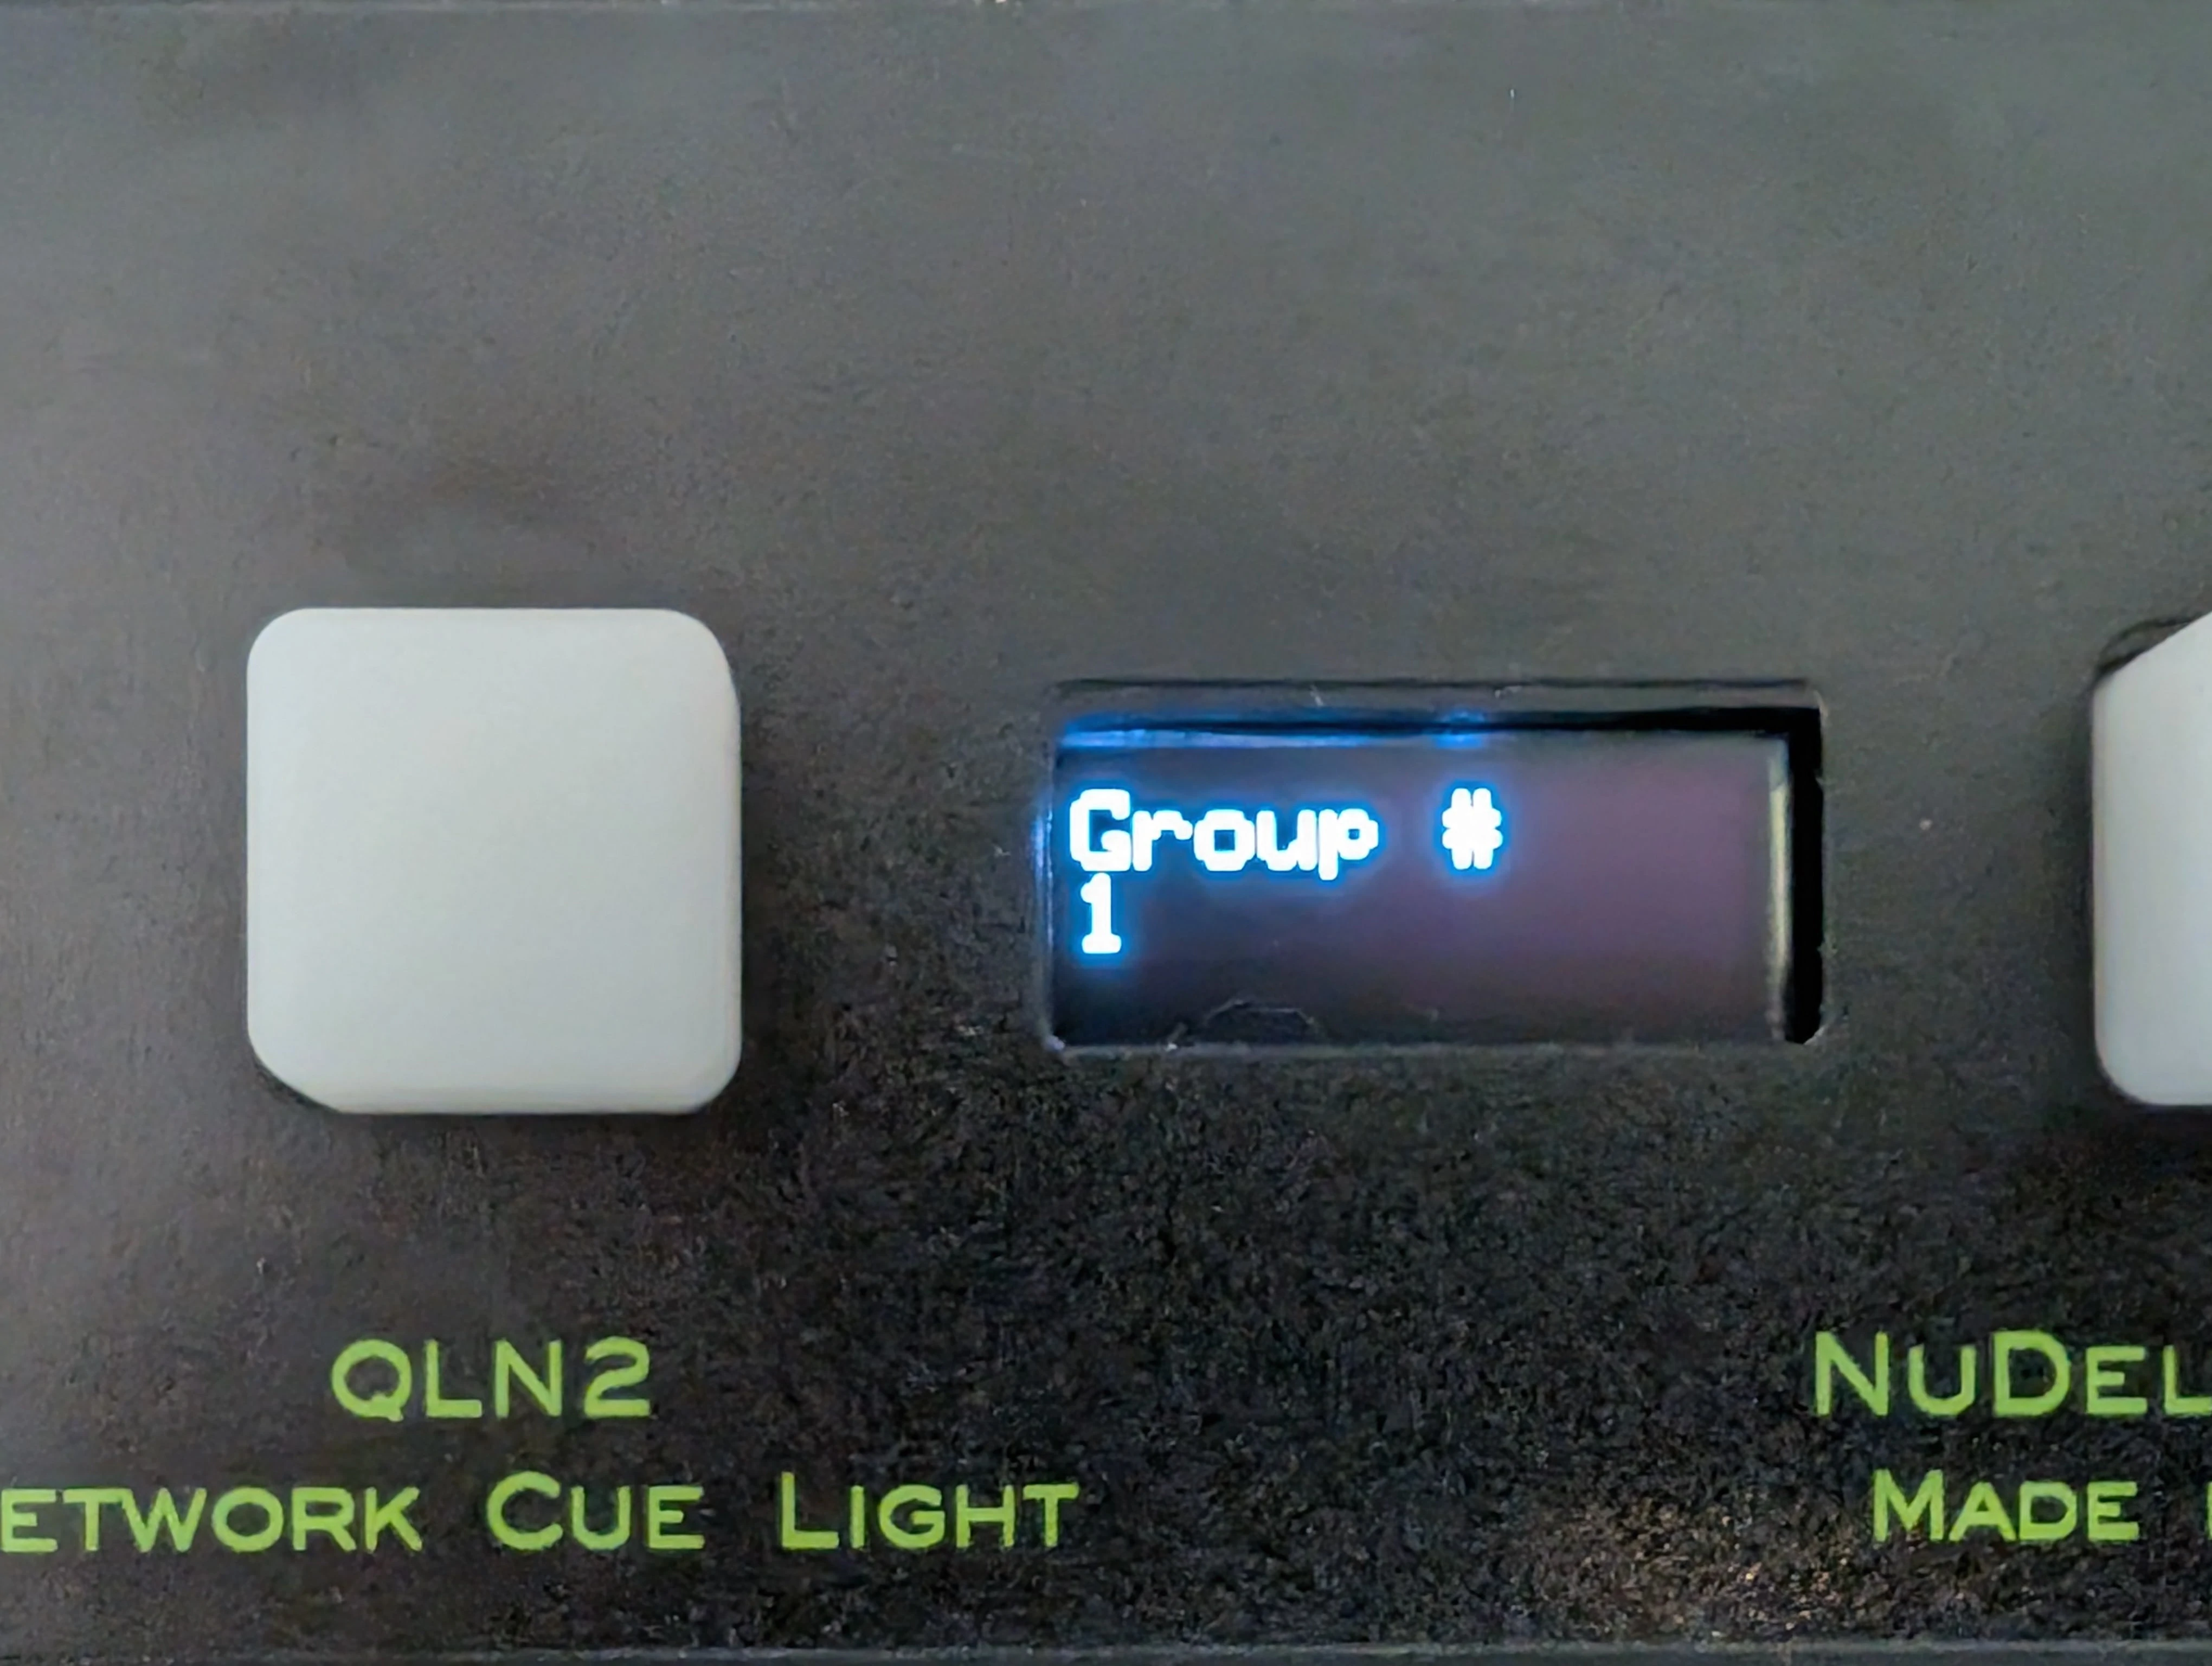
The process for changing the ip group number is the same as changing the ip range number.
QLN2 Operating Modes
Have you ever needed a one channel cue light system? Perhaps you need a way for a person to signal an actor or crew member in a way that is separate from the stage manager. Since the LogiCue Net System allows for multiple controllers to be on the network at the same time (using different ip address groups or ranges), we made it possible for a cue light to signal another cue light. When a cue light is put into "Cue Light as a Controller" mode, a cue light becomes a one channel controller. Things to consider to make this mode function properly:
- Make sure that the two cue lights (the cue light acting as a controller and the one being controlled) are on a different ip range or group than any other controllers on the network but both cue lights need to be on the same range and group.
- The cue light acting as a controller must be in "Cue Light as a Controller" mode.
- The cue light acting as a cue light must be on LogiCue channel 1 regardless of what ip range or ip group that it is in.
- You can have multiple cue lights act as controllers on the same network but controlling and receiving cue light pair needs to be on its own ip range or ip group.
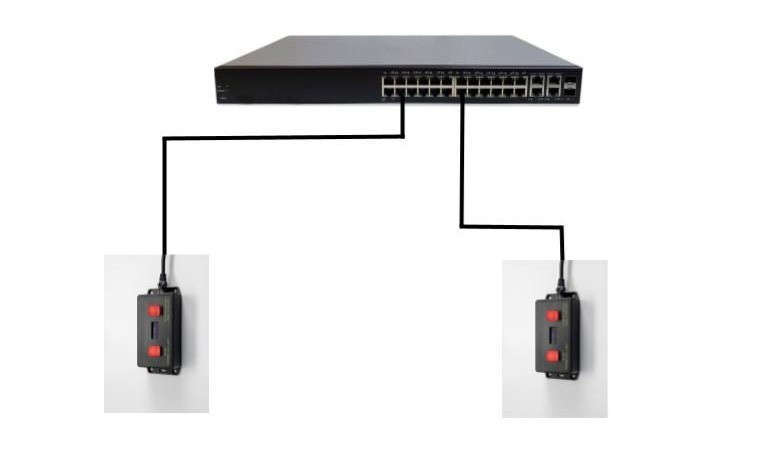
Diagram showing how two cue lights can be on a network and communicate with each other. These two cue lights could also be mixed in with twelve other cue lights and a controller on the same network, as long as the two groups of cue lights are on separate ip ranges or ip groups.
In order to change a cue light from "Normal Cue Light" mode to "Cue Light as a Controller" mode, hold down the left button while plugging in the cable. Once the menu appears, tap the left button to navigate through the options. Once you see one of the two modes appear ("Normal Cue Light" mode or "Cue Light as a Controller") press and hold the right button. Once the 5 second countdown is complete, you can use the right button to toggle between the two modes. Wait for 8 seconds and the mode will be recorded.
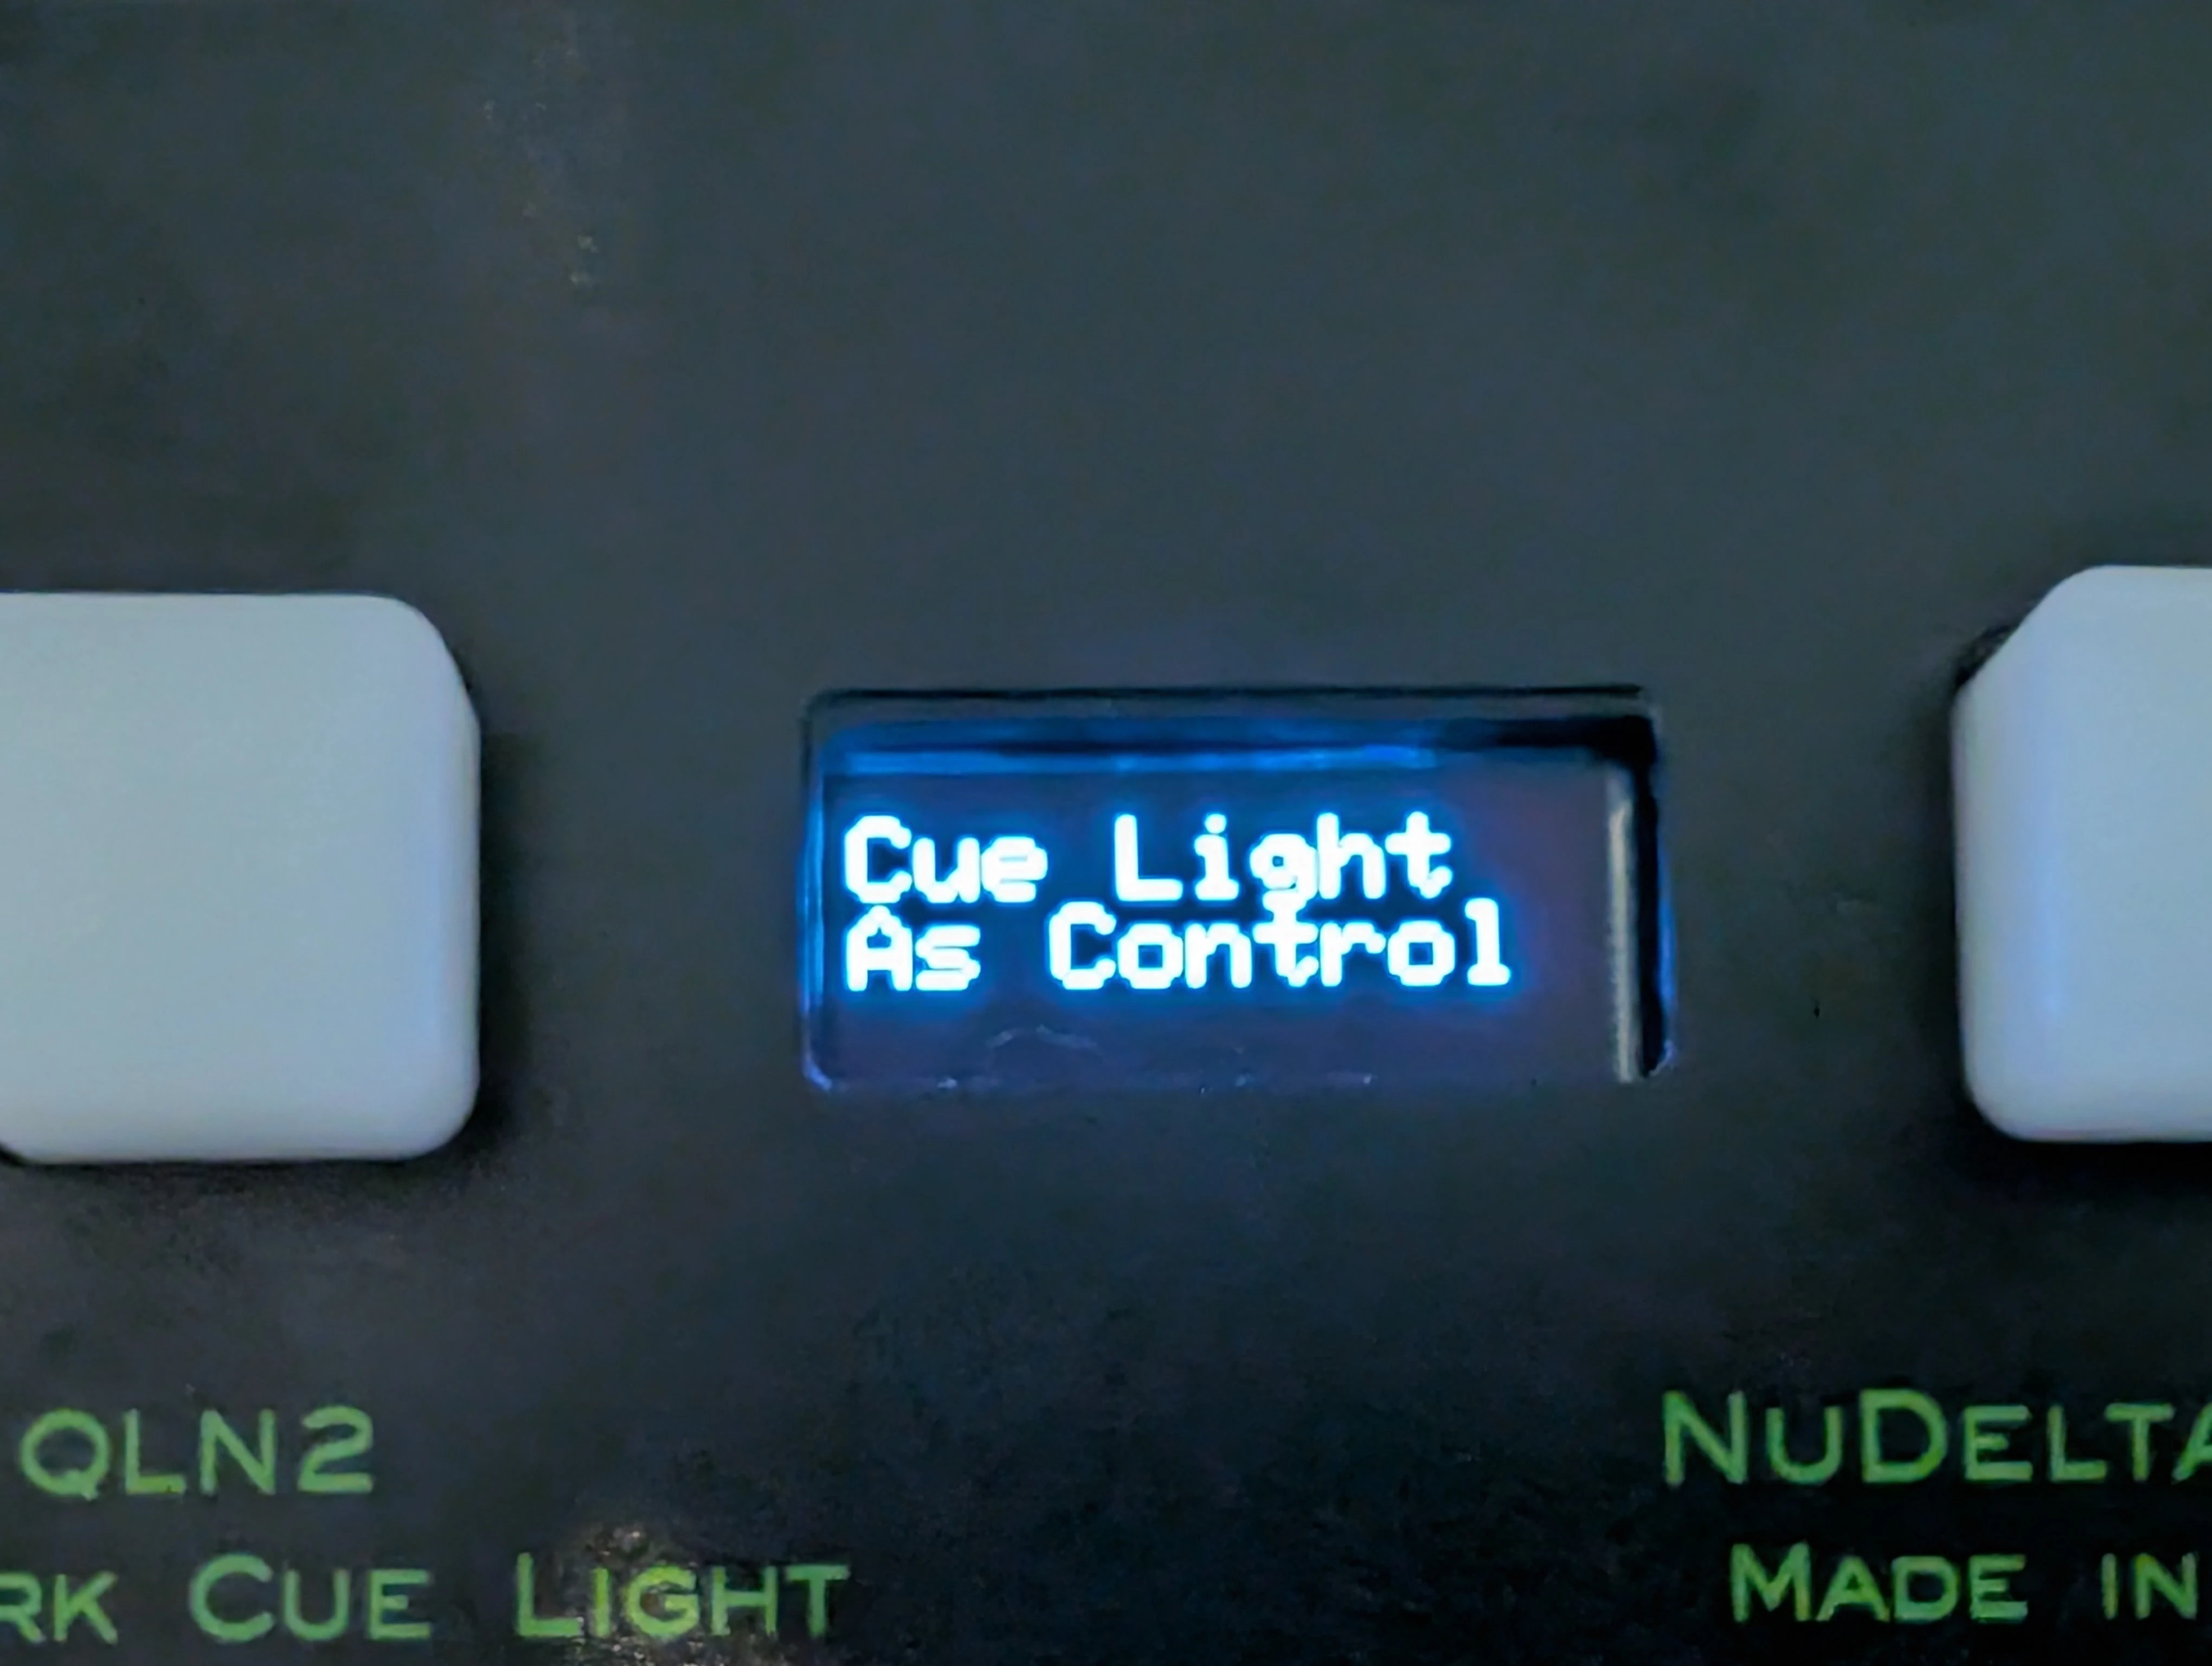
Cue Light As Control Mode will appear on the screen in the menu option for toggling between the two operating modes.
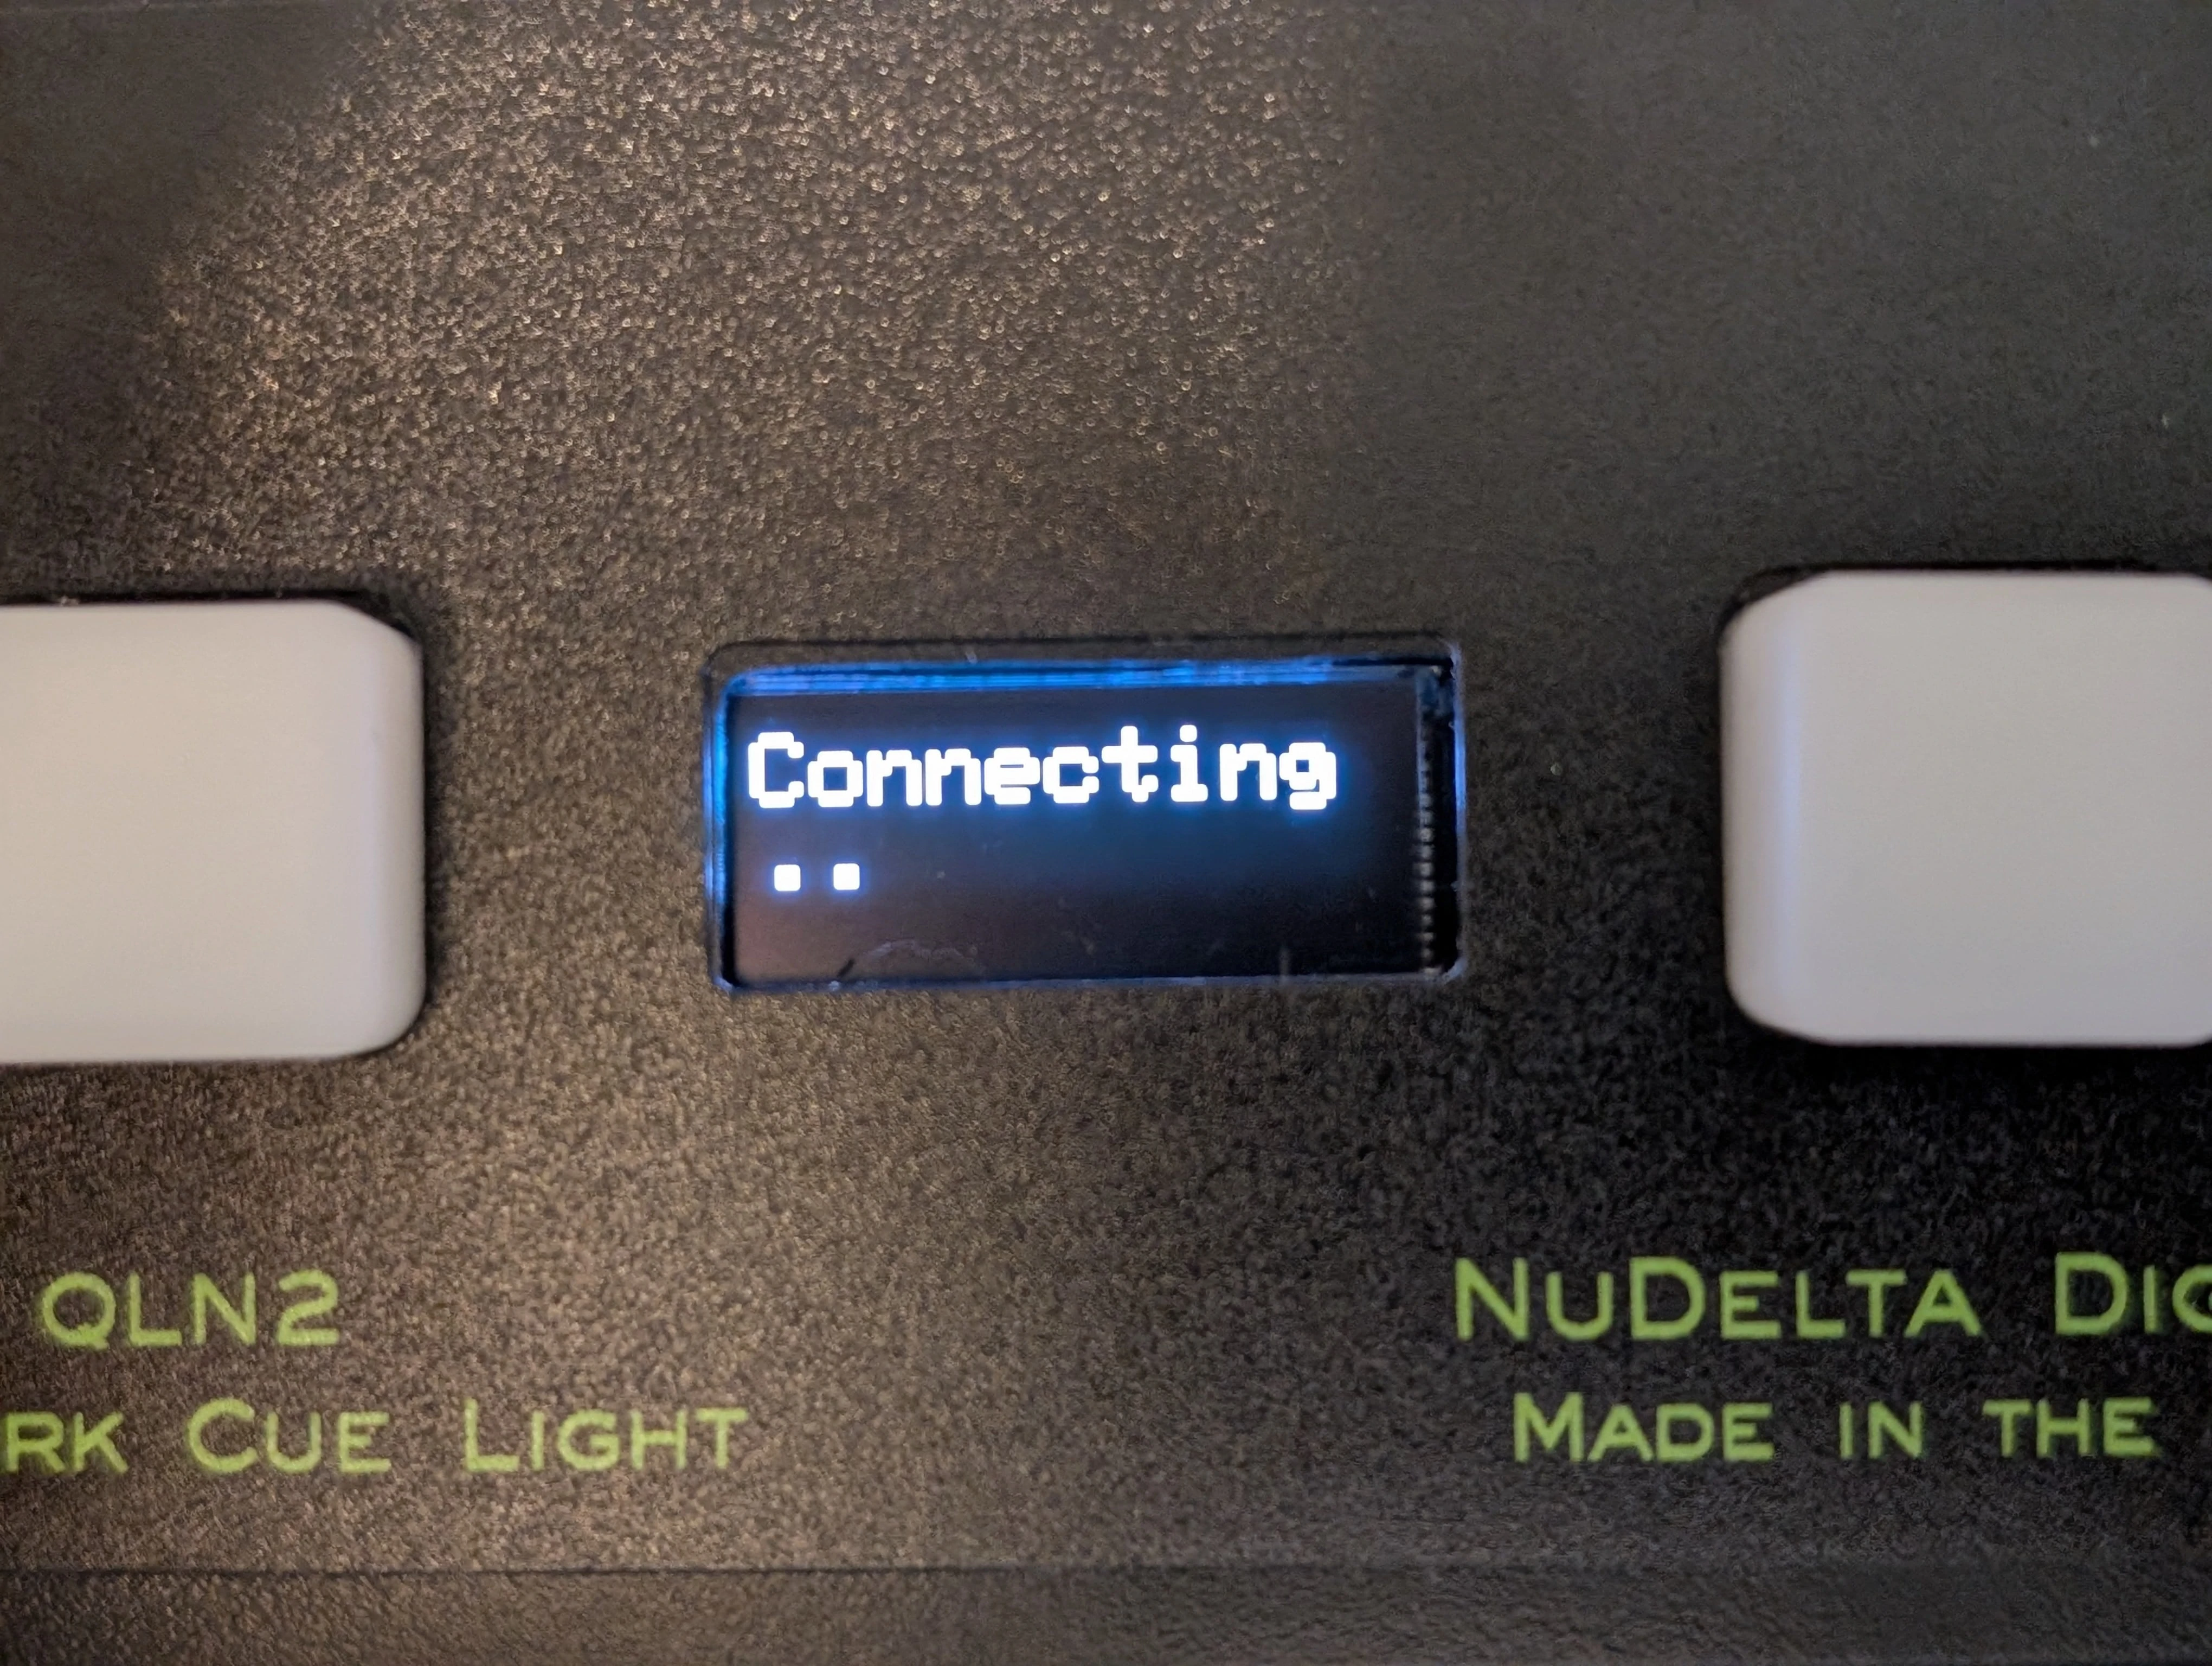
When a cue light is in "Controller" mode, it will attempt to connect to another cue light once it is plugged in.
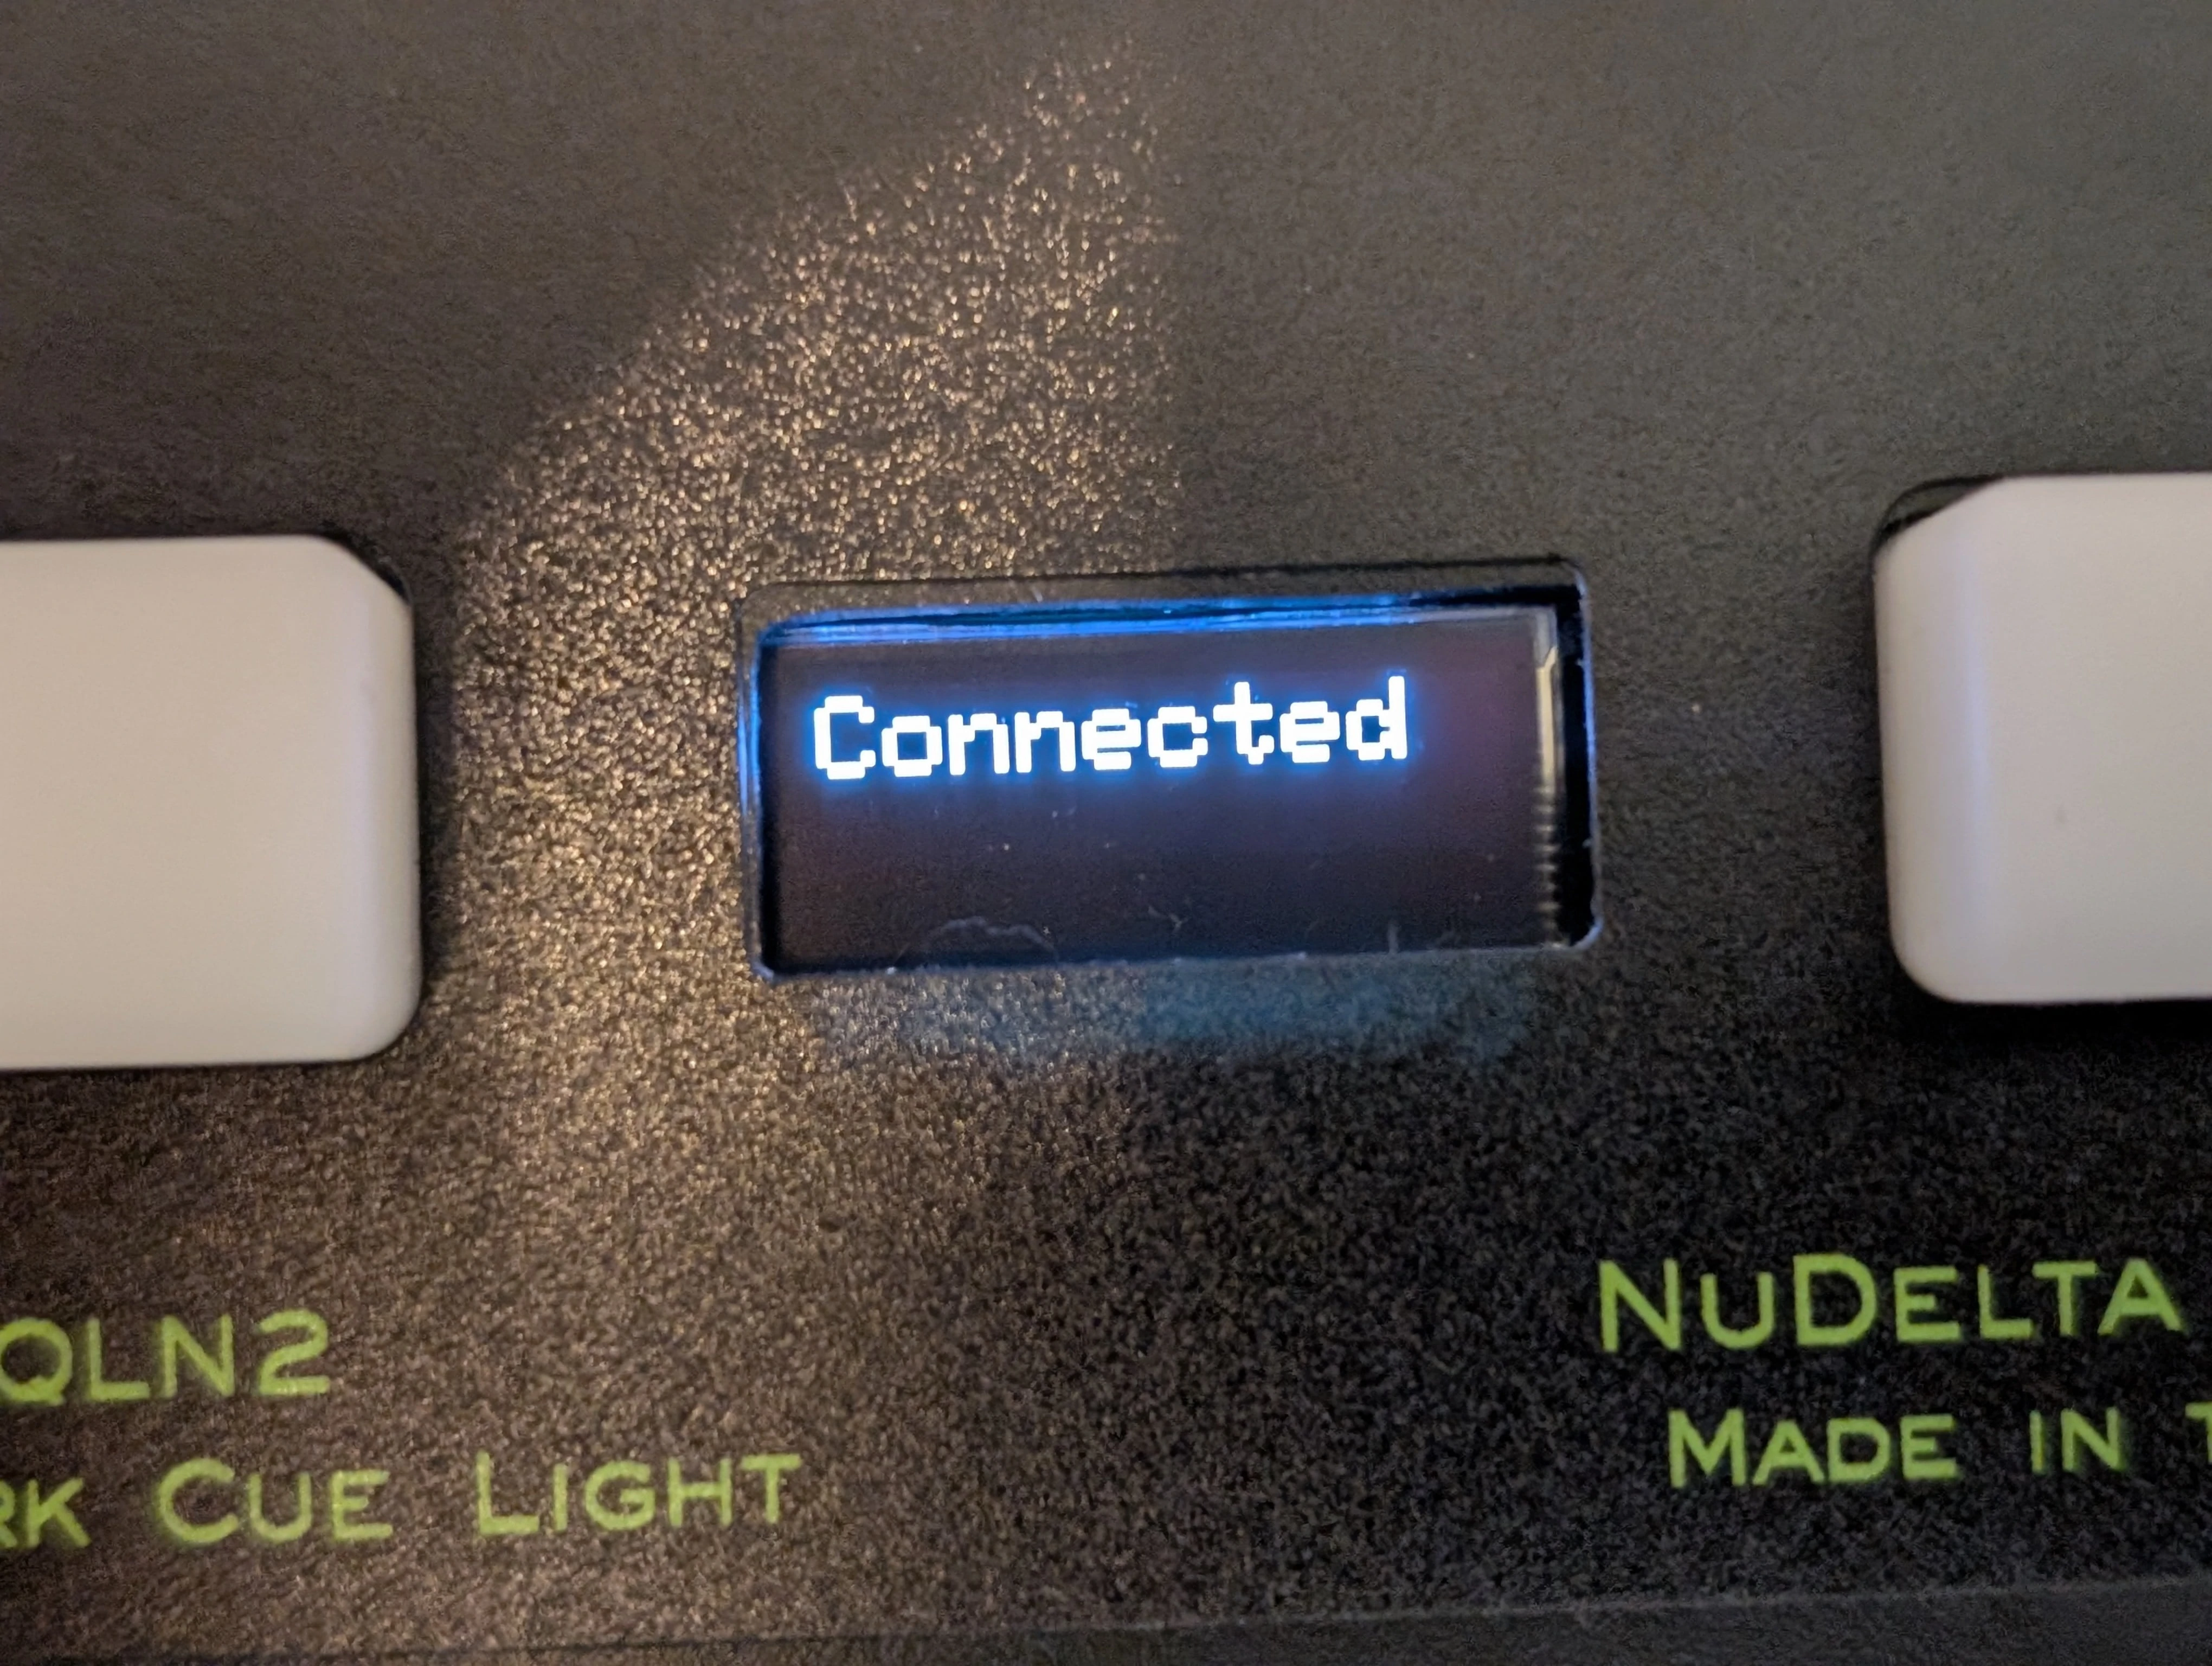
The cue light acting as a controller will display "Connected" on the screen when it has connected to another cue light.
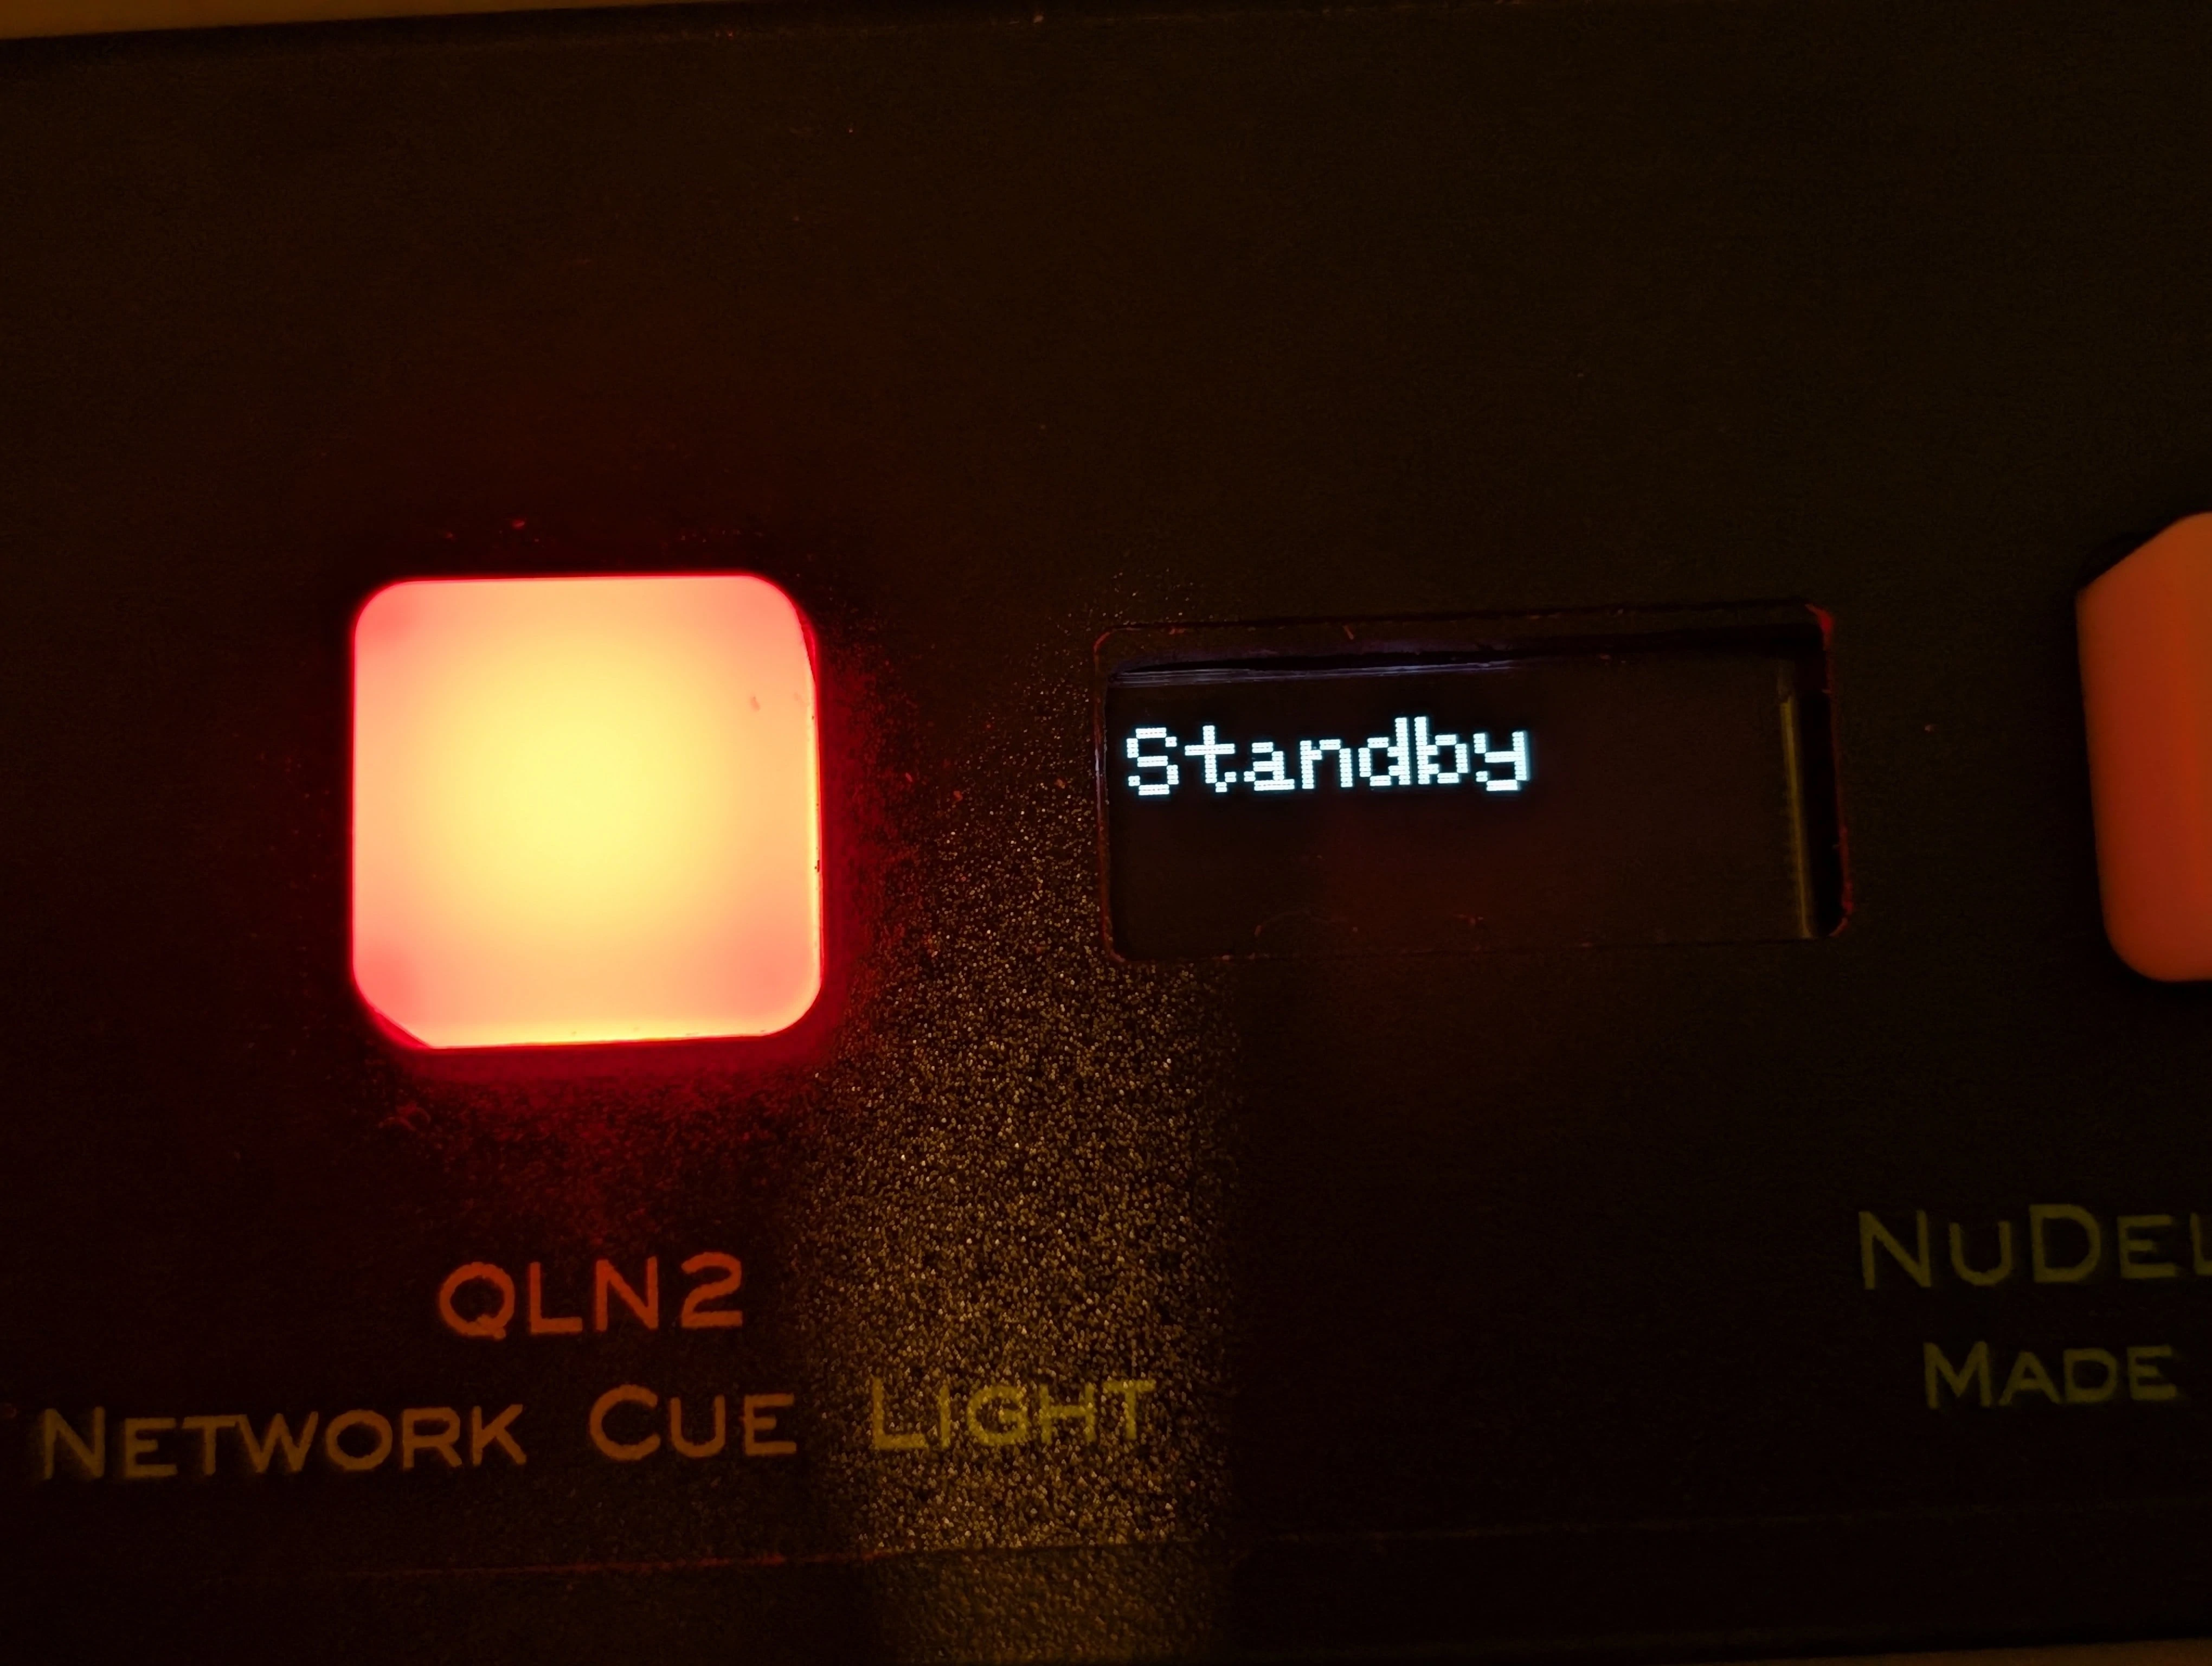
When the left button is pressed, it acts as the "Standby" button on the controller. The color of the light on the controller should match the color mode of the cue light.

When the left button is pressed twice, the cue light flashes on the controller and on the cue light.
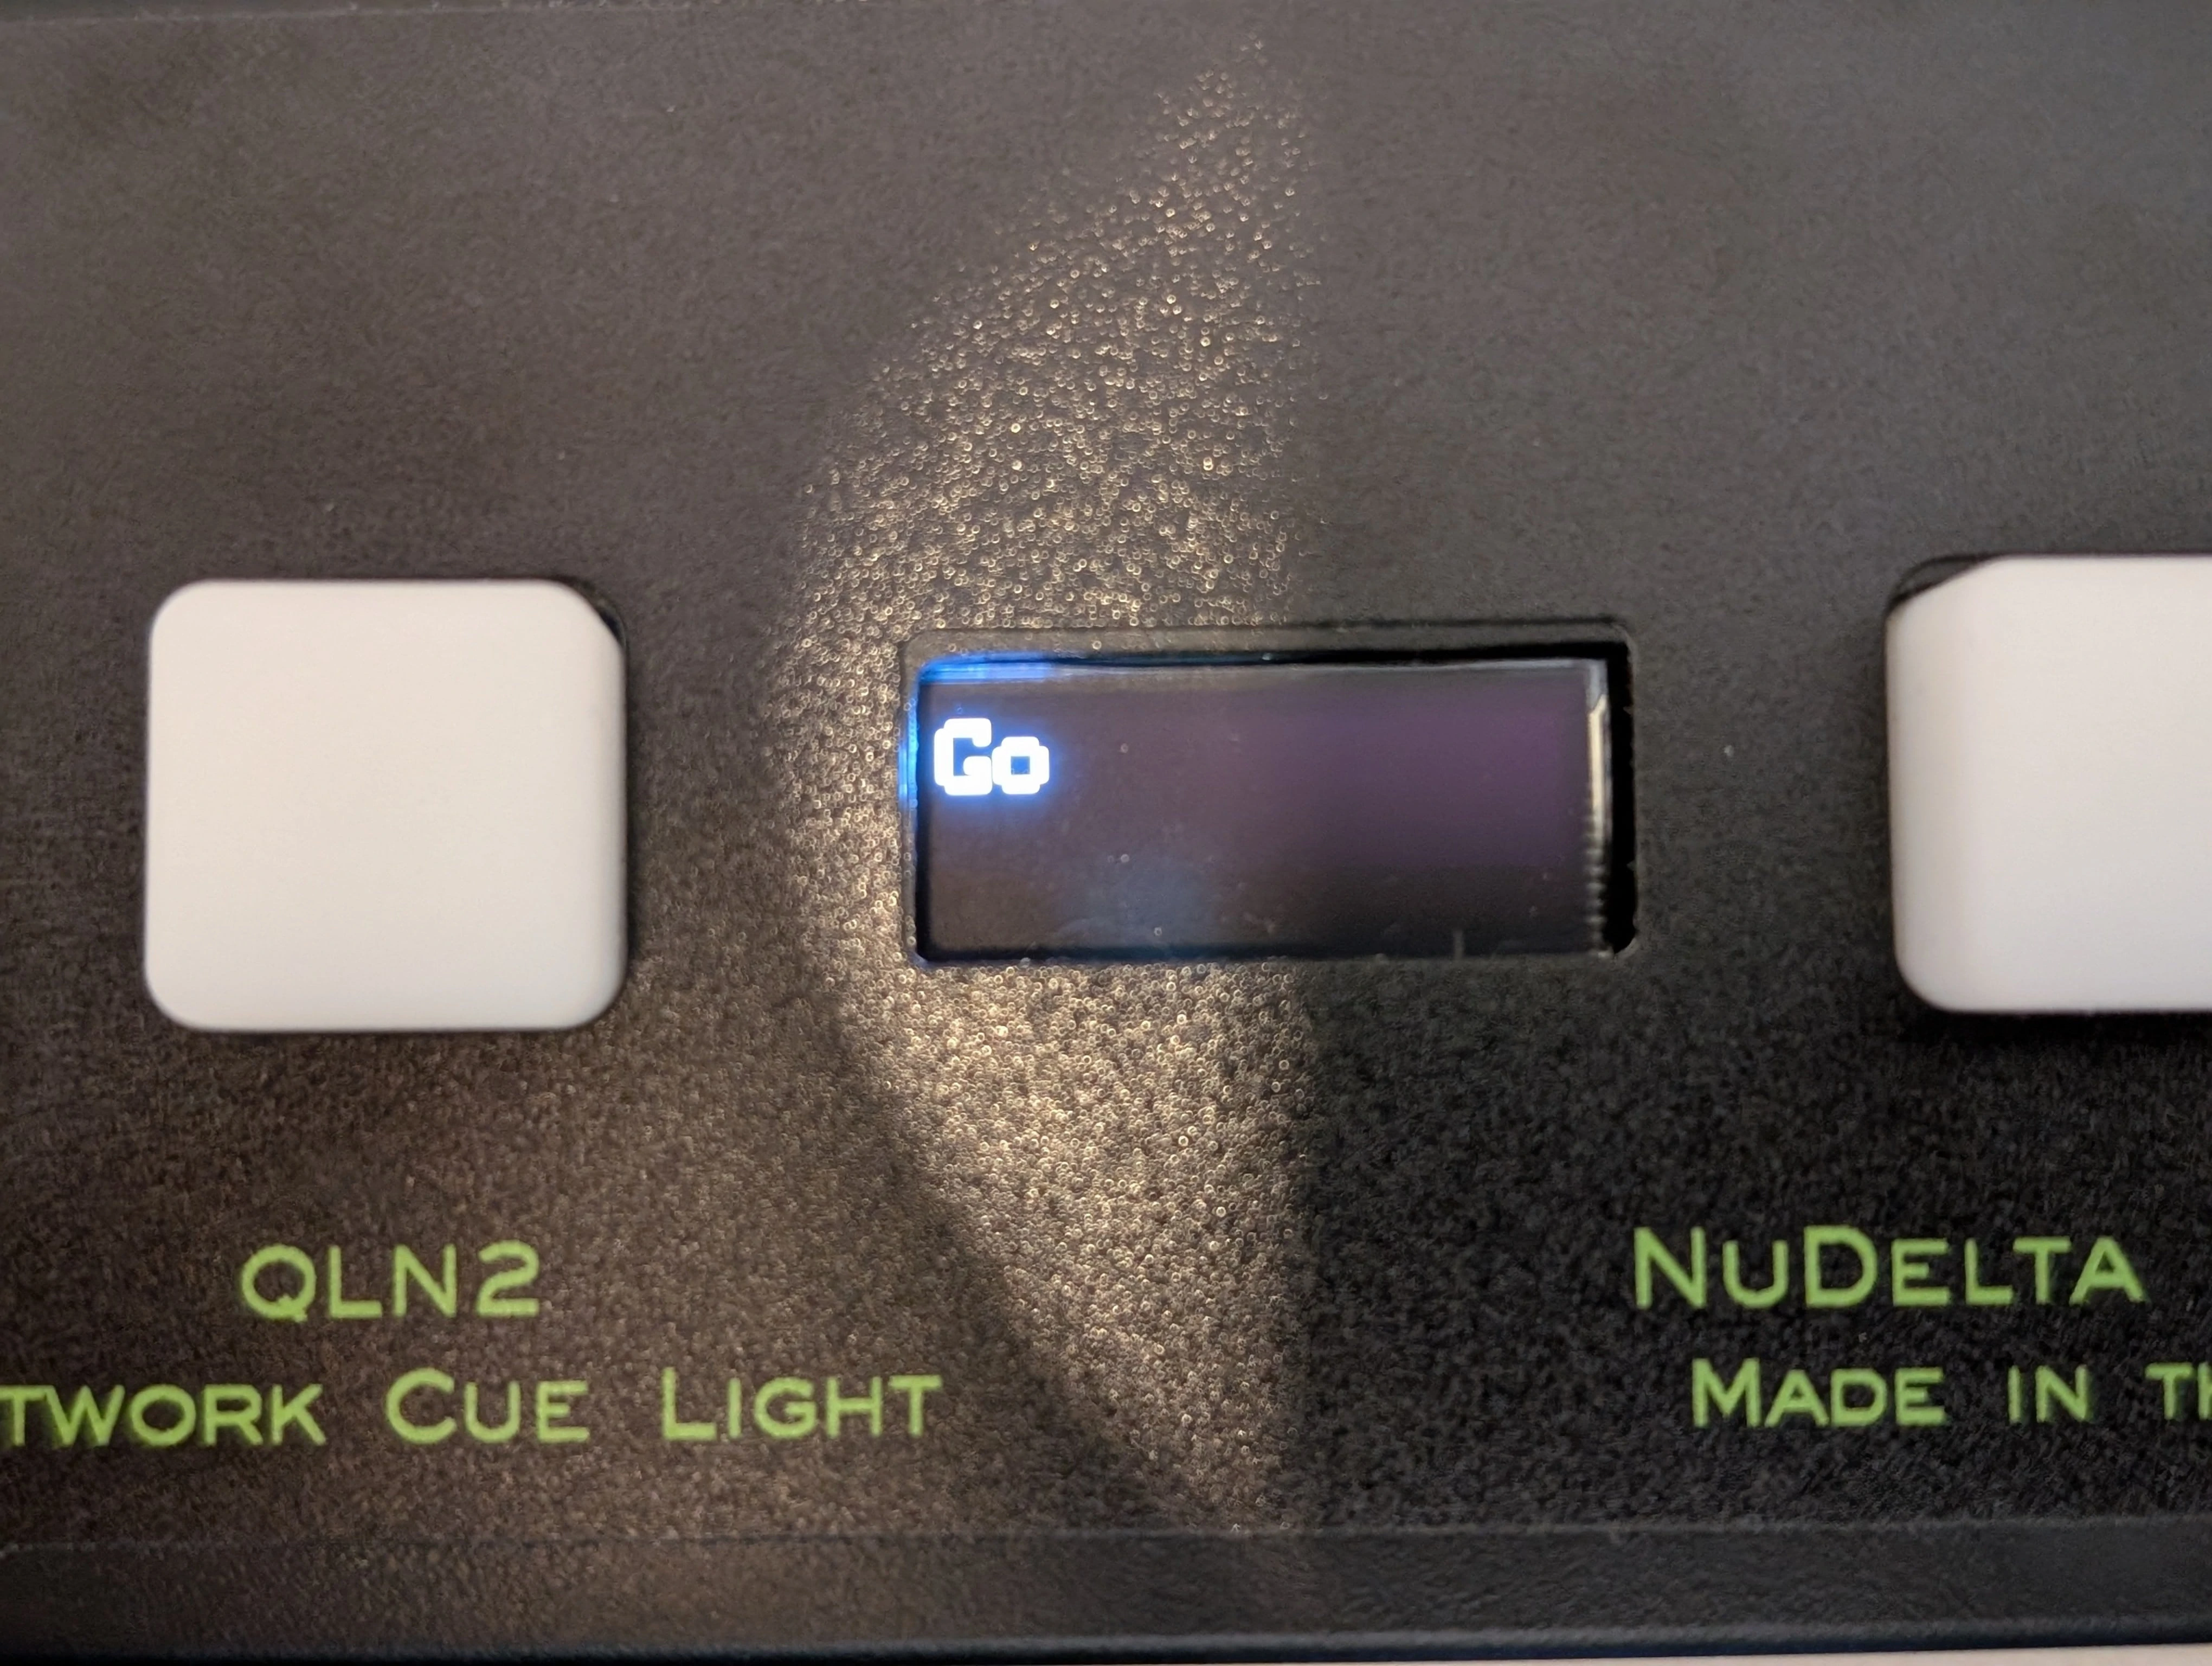
When the right button is pressed, it acts as the "Go" button.
QLN2 Software Updates

The QLN2 has a built-in webserver that allows you to upload software updates. The webserver is only accessible when the cue light is in Software Update Mode. This prevents the settings from being changed during a show.
To connect to the webserver, you will need a computer (PC or Mac) that has an ethernet port or a usb to ethernet adapter, a web browser, an ethernet switch (it needs to be a POE switch), the a QLN2 Cue Light, and two ethernet cables. Connect the cue light to the ethernet switch with one ethernet cable and connect your computer to the ethernet switch with the other ethernet cable.
You will need to change the ethernet settings of your computers ethernet port to the following:
(You may want to record the current state of the settings in case you need to change them back)
IP Assignment: Manual (Or DHCP Off)
IPV4 Address: 10.201.1.2
IPV4 Mask (Subnet Mask) 255.255.0.0
IPV4 Gateway: 10.201.1.1
Preferred DNS: 10.201.1.0
DNS over HTTPS: Off
There may be other settings in your operating system. Consult the operating instructions for your operating system or search for "How do I change the IP address of my computer?" The most important settings are the IP address and the subnet mask, other settings may not be relevant to connecting with the cue light.
Once you have your computer configured, hold down the left button (the one furthest from the connector) while you plug in the cable. The menu will appear. Tap the left button until you see "Firmware Update" and the version number. Press and hold the right button until the 5 second countdown is complete. The display will show "Update Mode" You can now open a web browser on your computer and type in 10.201.2.5 in the area where you would normally type a web address.
That will take you to the web page to update the software. For purposes of this manual, software and firmware are the same thing. Once the software is updated, you can unplug the cue light. If you need to update multiple cue lights, remember to refresh the browser each time so that you are insured that the computer is connected to the cue light.
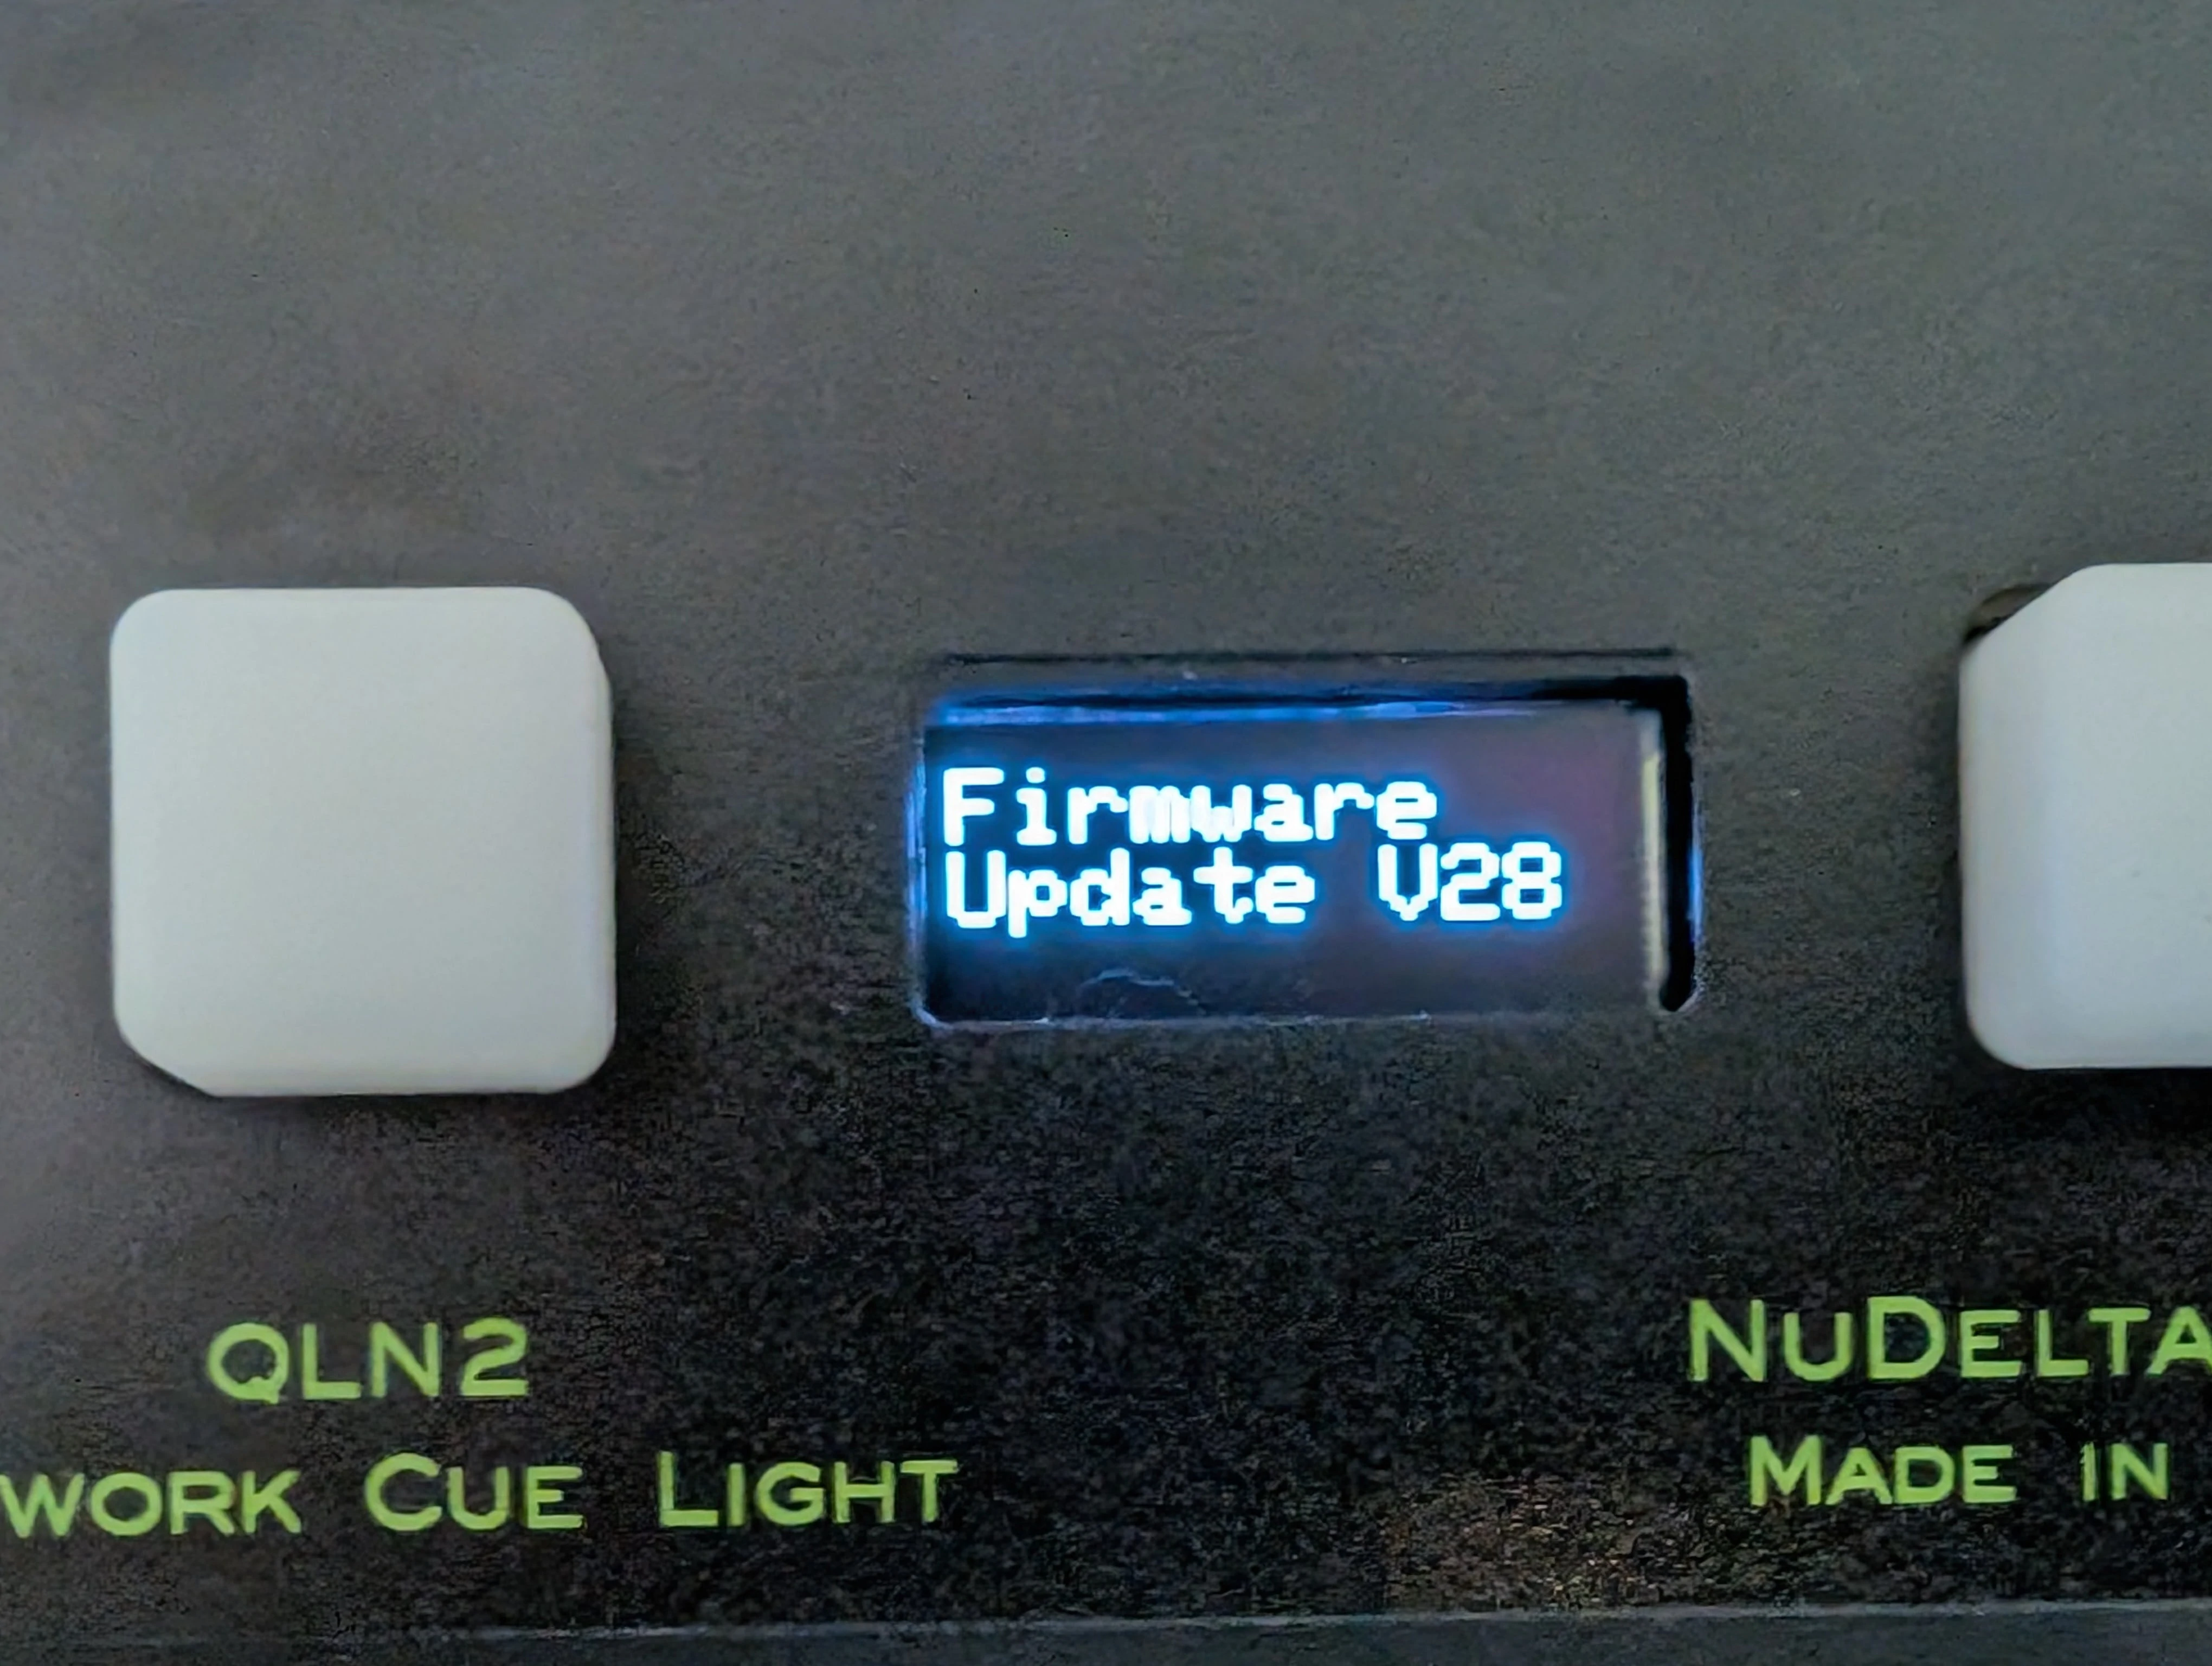
The menu option for updating the software on the cue light.